Your cart is currently empty!


Beeswax wraps are super simple to make with this step-by-step tutorial! If you’re looking for a creative way to reduce use and exposure to plastic wrap and live a more sustainable lifestyle then this post is for you! With this simple and practical alternative that helps the environment while adding a charming touch to your kitchen, Katie T’s Home will walk you through the beeswax wraps DIY in just 5 steps. We’ll also share tips for reusing and maintaining these eco-friendly wraps and offer creative ideas for incorporating them into your daily life. So, without further ado, let’s get started!
This post may contain affiliate links, which means I’ll receive a small commission if you purchase through my links, at no extra cost to you. Please read the full disclosure for more information.

Get all my favorite digital downloads today!
I also ask that you please leave your thoughts in the comment section below. I’m always trying to produce helpful content for my readers, and without knowing what you think, it’s hard to know what you find helpful/not helpful. So please leave your thoughts below!! 🙂
Fun fact time! This is a new section I’m including on my blog posts so my readers can get to know me on a personal level!
So, for my 24th fun fact, I want to share that I love to laugh!
I guess you can say I thrive with people who have a similar humor style to mine because then the whole time is spent laughing.
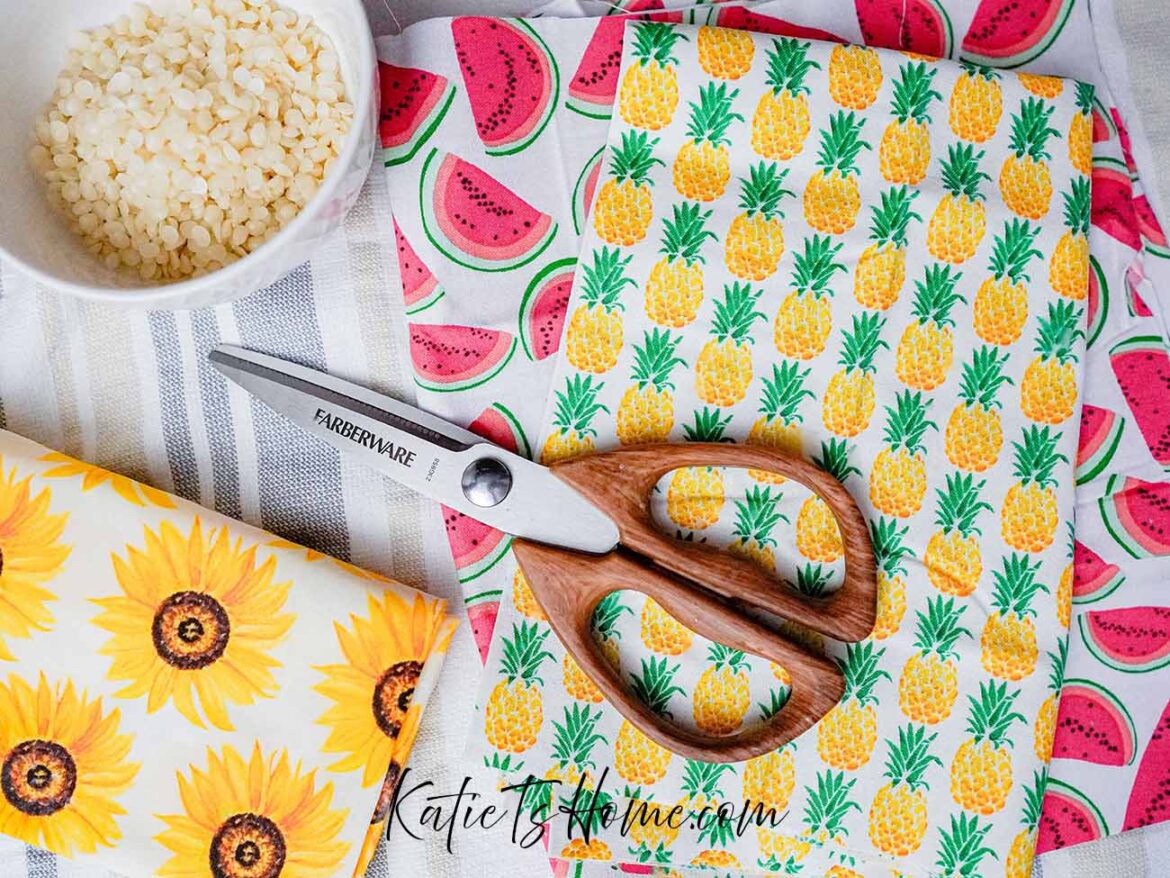
To get started on your beeswax wraps DIY project, you’ll need a few materials.
First, gather some 100% cotton fabric in various sizes to suit your needs – think about the different items you typically wrap or cover in your kitchen.
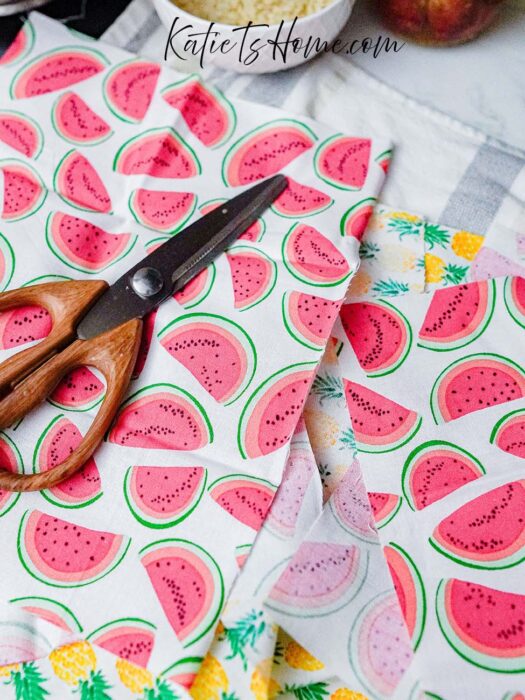
If you have a large piece of fabric, you can always cut it to size like I did.
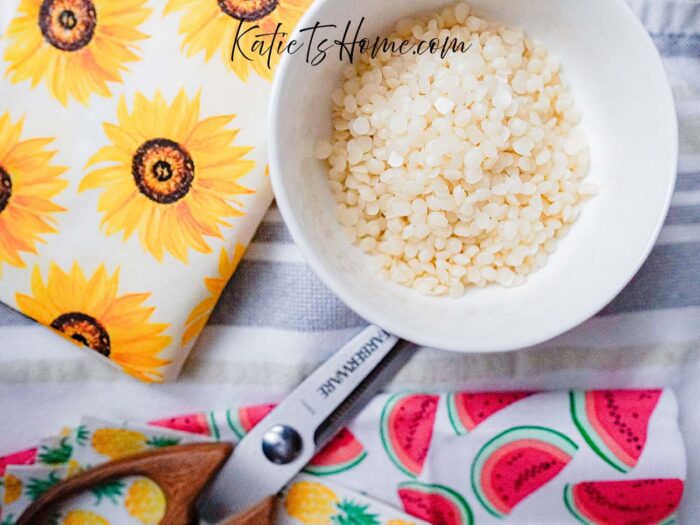
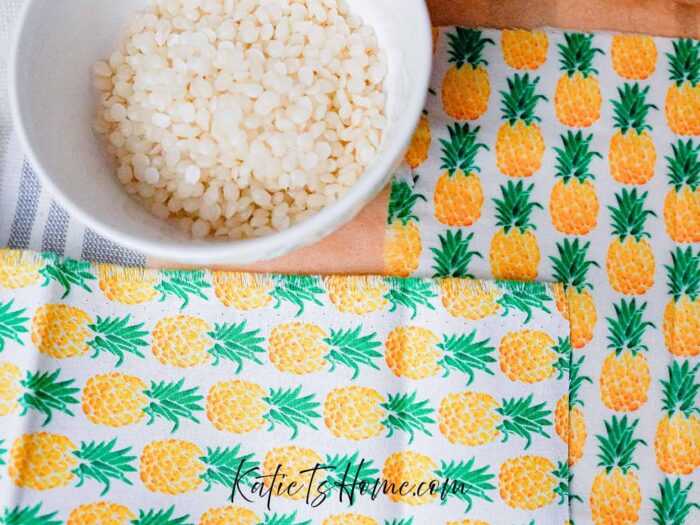
Next, you will need beeswax pellets or a block of beeswax, which will be the protective coating for your wraps.
Lastly, have some parchment paper, an iron, an extra towel, a double broiler, and a brush ready for the application process. Once you have all these materials, you’re ready to dive into the fun part!

Get all digital downloads for a fraction of the price with this bundle deal!
To create your beeswax wraps, start by melting the beeswax in a double boiler. If you don’t have one, you can use two pots and fill the larger one with water.
I don’t recommend heating in the microwave (although in a perfect world, it would be easier and faster). This is because beeswax will burst into flames if it gets too hot.
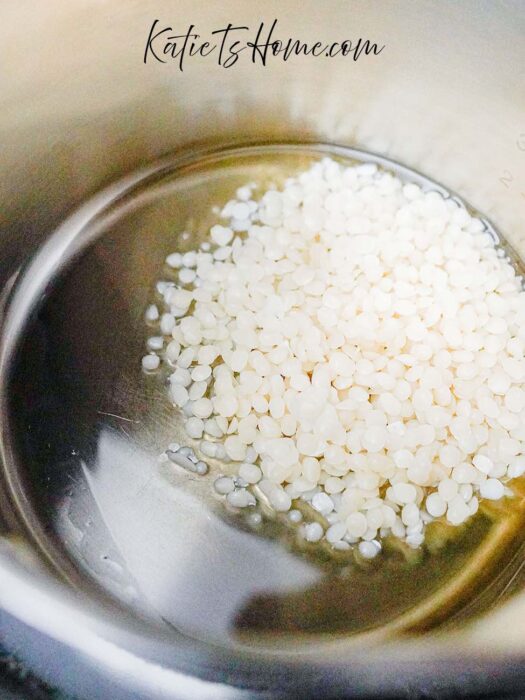
The temperature this happens at is 400 degrees, and I doubt the microwave would reach that temperature, but I don’t know about you, I’d rather not play with fire.
Then, on a towel lined with parchment paper, place the cotton fabric on top.
Next, use a brush to evenly distribute the melted wax over the fabric, making sure to cover all areas.
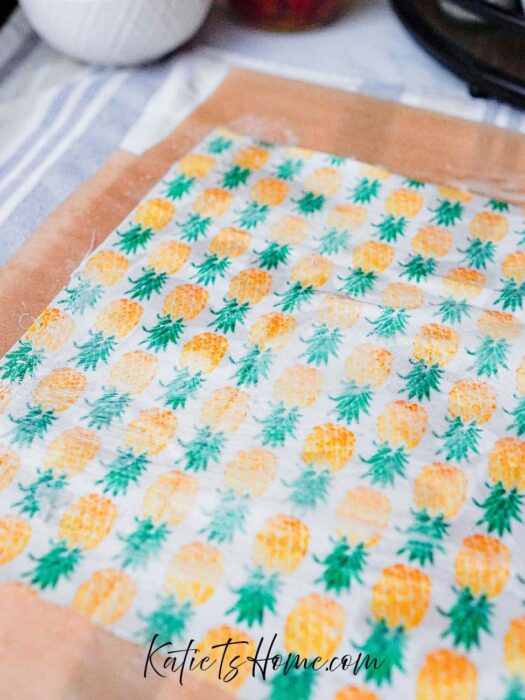
Once you’ve coated all your fabric pieces, lift the edge and turn over the fabric. It dries pretty fast, but the idea is to completely melt the beeswax into the fabric vs it sitting on top.
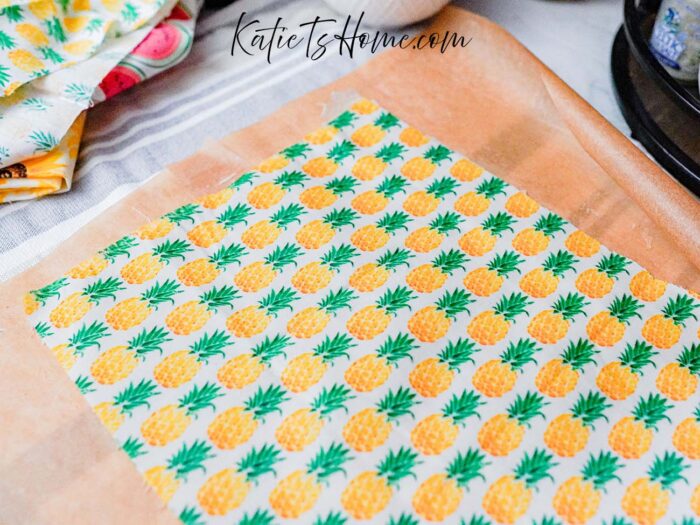
Next, take more parchment paper and put it on top of the fabric. With your iron on the lowest setting, melt the beeswax into the fabric so the cotton absorbs the beeswax.
I’ve seen other people put the beeswax into the oven, which is another option, just remember to keep your oven on a low temperature.
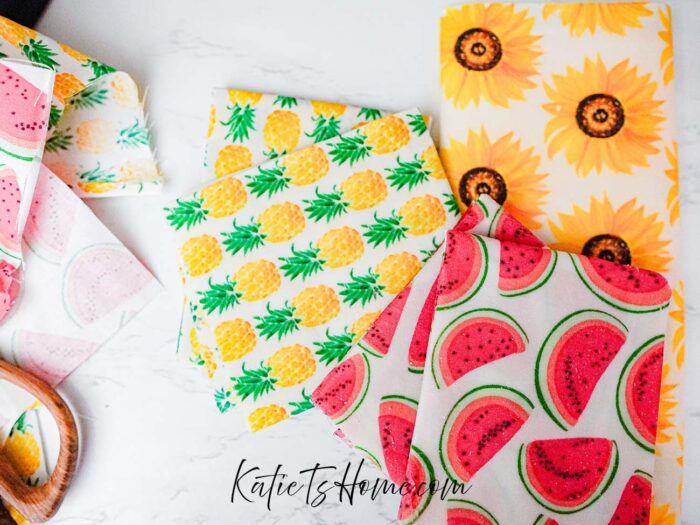
And there you have it! Allow to dry for a minute or so, and now you’ll be enjoying the benefits of eco-friendly beeswax wraps!
When reusing and maintaining your beeswax wraps, there are a few key tips to keep in mind.
After using them to wrap food or cover containers, simply wash them with cool water and mild soap, making sure not to use hot water as it can melt the wax.
Avoid using them with raw meat or hot items, as this can damage the wraps. To rejuvenate your wraps, you can place them in the oven on a baking sheet lined with parchment paper for a few minutes to redistribute the wax.
By following these simple suggestions, you can extend the life of your beeswax wraps and continue to enjoy their eco-friendly benefits.
This beeswax wraps DIY project is great for a couple of reasons. One, you can use the beeswax on food like covering fruits and veggies, or as a lid for bowls.
Another way to use your beeswax wraps is to use them as a unique gift for someone special. Not only will this add a personal touch to your presents, but it will also reduce waste and promote eco-friendly practices.
In a world overrun with plastic, making beeswax wraps is a small but impactful step towards a more sustainable lifestyle.
By following the simple DIY guide, you can create a practical and eco-friendly alternative to plastic wrap. Remember to reuse and maintain your wraps to maximize their lifespan, and get creative with how you use them in your daily life! So there you have it! Let me know your thoughts about this beeswax wrap DIY craft idea in the comments below!
Don’t forget to follow me on Pinterest!
Very nice blog. I found you on YouTube. I’ll be making some beeswax wraps. I’ve made them before but they didn’t work. I’m going to try your method. I love the simmer pot jars idea for gifts.
Thanks Trisha! Hope this method works! Be sure to work quickly because the beeswax does dry quickly 🙂 And who can say no to a simmer pot gift right?!?
Leave a Reply