Your cart is currently empty!
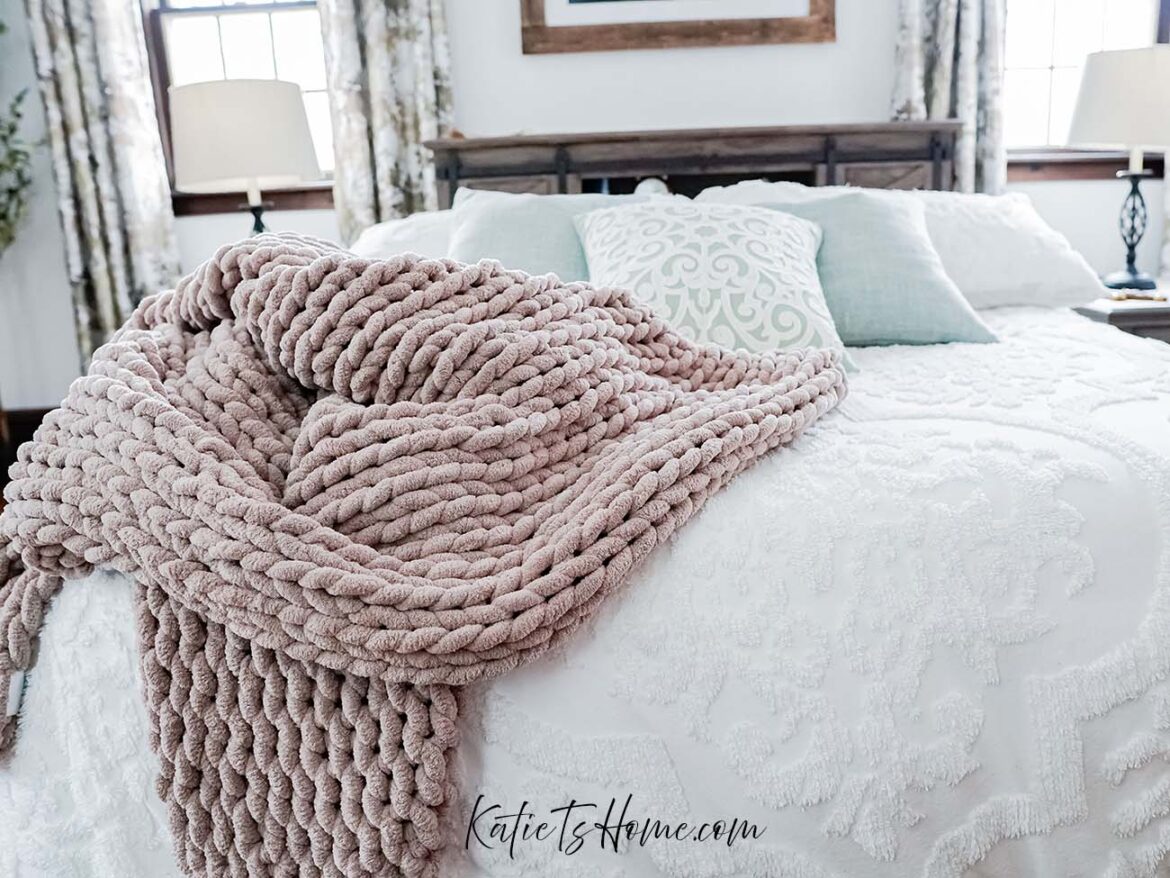
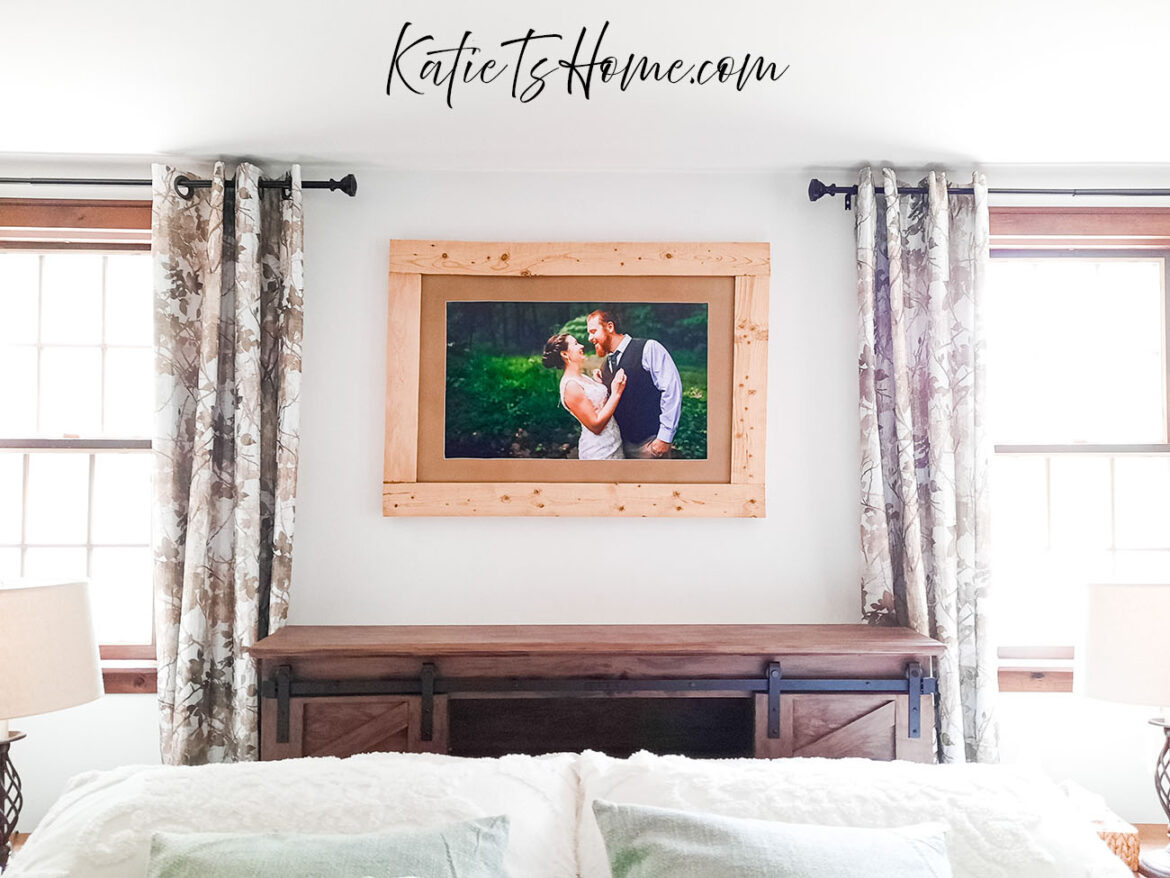
Hello! Hope you are well today 😊 I recently updated the headboard in my bedroom (you can read about it here) and felt that the room needed a little something more. I had scrap pieces of pallet wood on hand, so I used them to create a picture frame to match the style of the headboard. So, let’s jump into my farmhouse DIY pallet picture frame idea!
This post may contain affiliate links, which means I’ll receive a small commission if you purchase through my links, at no extra cost to you. Please read the full disclosure for more information.
I also ask that you please leave your thoughts in the comment section below. I’m always trying to produce helpful content for my readers, and without knowing what you think, it’s hard to know what you find helpful/not helpful. So please leave your thoughts below!! 🙂
You’ll find the list of materials I used for this project below:
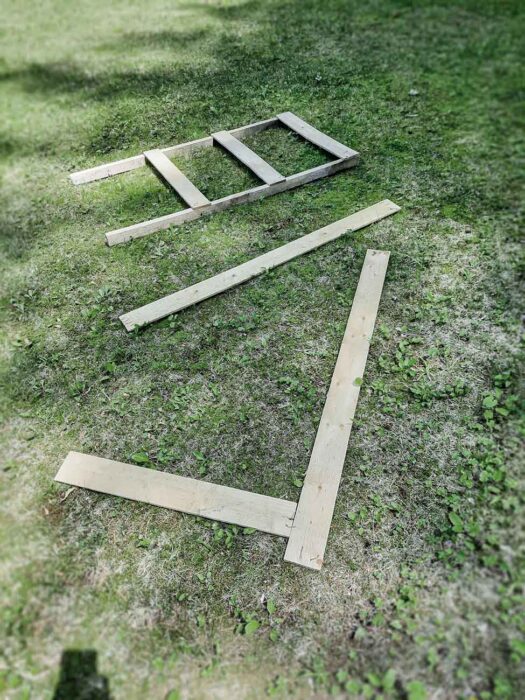
Take measurements of your photo and matte board and cut the wood to length.
My photo is 20” by 30”, and I want some room in between for the matte board, so I cut 2 pieces to 28” for the sides and 2 more at 40” for the top and bottom.
After you cut the pieces to length, assemble them.
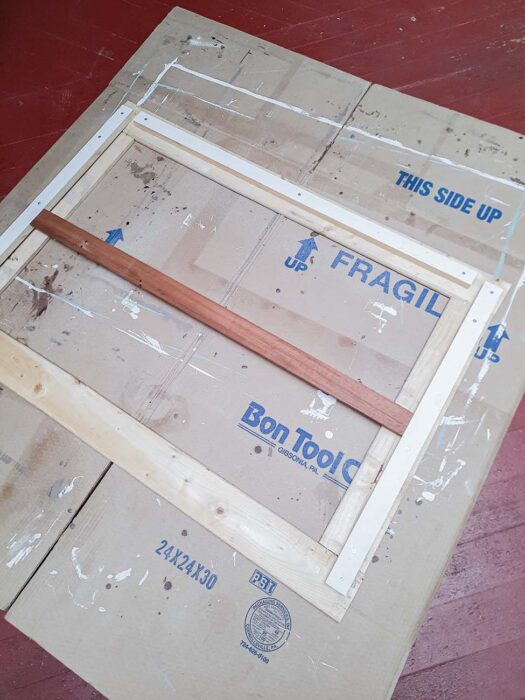
I placed the pieces facing down. Then, I stapled the corners with a staple gun to hold everything in place. Once everything was roughly attached, I took scrap pieces of wood from a different project and screwed them down on both sides.
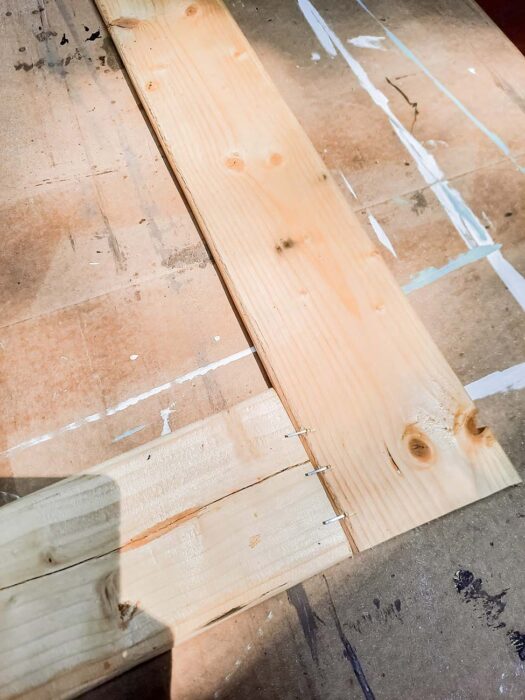
Once that was complete, I took another scrap piece of wood and screwed it into the bottom of the frame. This way, the backing and matte board can rest on the bottom piece of wood.
I also cut another piece of wood and placed it in the middle of the frame to keep the picture, matte board, and back in place. I left enough room for everything to slide in from the top.
In the meantime, I cut the matte board. I used an exacto knife and a straight edge to cut the rectangle on the inside. If you decide to do this part, try your best to get it in one cut and angle the exacto knife so the edge of the matte board shows.
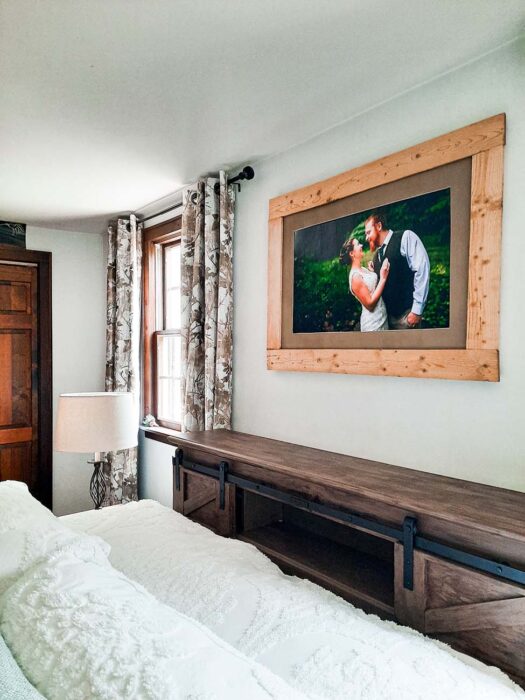
I’ve since updated the matte board because I wasn’t in love with the color. While I was at it, I stained the picture frame to match the farmhouse headboard.
After the pieces were all completed, I assembled the picture frame!
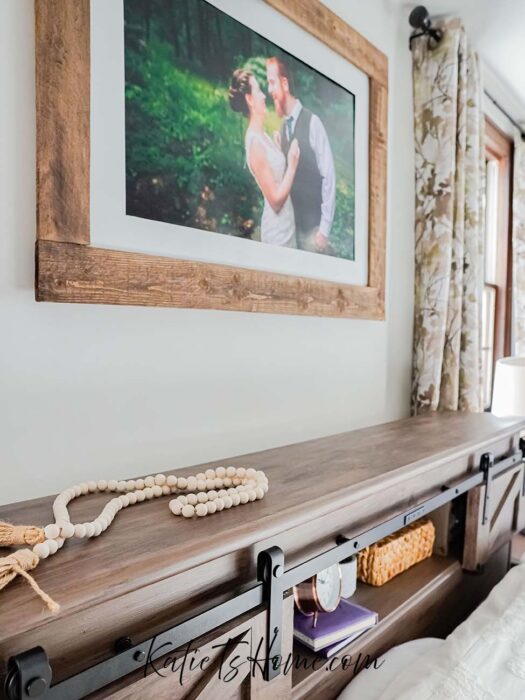
There you have it! My farmhouse DIY pallet picture frame idea! I hope this post inspires you to refurbish one of your picture frames. Comment below if you plan on doing a project like this soon!
I love this idea, Katie. We’ve collected so many pallets over the years and I’ve never managed to get the whole 45-degree angle cuts right. They always come out wonky. This is much easier.
Michelle, I’m glad you find this much easier!
Leave a Reply