Your cart is currently empty!


Welcome to the second part of the Cricut Projects Beginner’s Guide. Today I will walk you through how to set up your Cricut. I have learned a lot about my Cricut Maker after I made the purchase, and I’m excited to share it with you today!
This post may contain affiliate links, which means I’ll receive a small commission if you purchase through my links, at no extra cost to you. Please read the full disclosure for more information.

Get all my favorite digital downloads today!
I also ask that you please leave your thoughts in the comment section below. I’m always trying to produce helpful content for my readers, and without knowing what you think, it’s hard to know what you find helpful/not helpful. So please leave your thoughts below!! 🙂
I purchased my Cricut Maker when I was engaged because I wanted to DIY a lot of signs and projects for my wedding.
After using the Maker for a few years, I have additional feedback from what you would typically find on a Cricut machine. If you still haven’t made the purchase, you can find more details here, in part one of this guide. I explain what they don’t tell you about a Cricut so you will make the purchase fully knowing what you are getting yourself into.
And now onto part 2 of the Cricut Projects Beginner’s Guide!
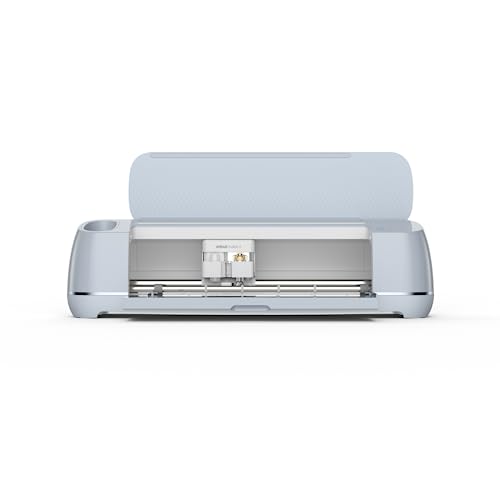
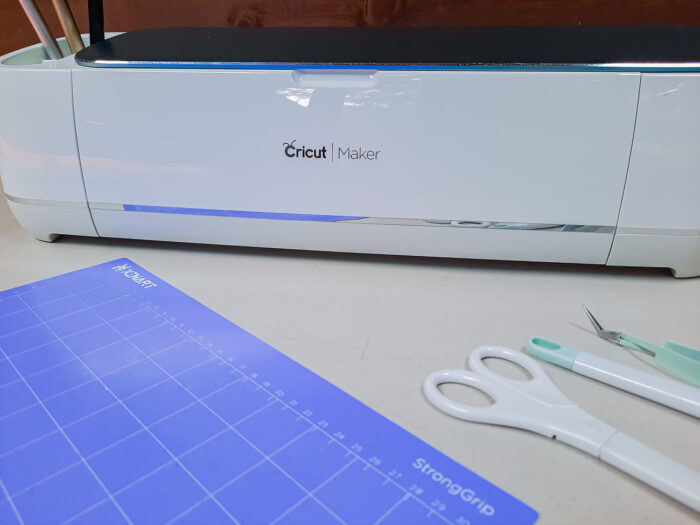
The first step in this process is unboxing the Cricut. As you unbox your Cricut, you’ll find a “let’s get started” packet. Set this aside for the time being. Take out the additional items from the box. This will include the starting cards, welcome book, rotary blade, fine-tipped pen, USB cord, warranty, mat boards, Maker, and power cord.
A few things to note here:
The rotary blade is an extra blade that comes with the Cricut. If you have a Cricut Maker, you can purchase additional blades that will cut a variety of materials like leather or thin wood. The rotary blade, however, is versatile and can cut paper, vinyl, cotton, canvas, felt, silk, and so much more!

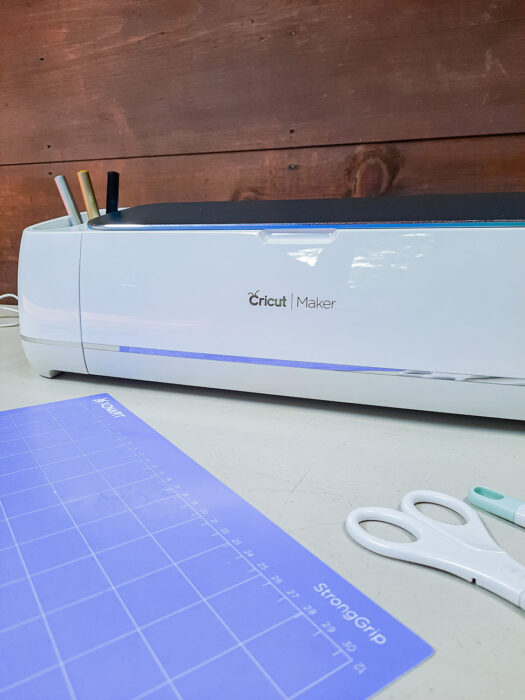
You can also use pens with your Cricut! This is a great feature if you are making cards and want that handwritten look. I will add a link here with how to use this feature, as it requires a few more steps than the traditional cutting.
The USB cord and power cord are essential to run your Cricut. The USB cord will attach the circuit to a computer or laptop, while the power cord will attach the Cricut to an outlet.

Get all digital downloads for a fraction of the price with this bundle deal!
Depending on the material you’re cutting, you can get different mat boards with a higher stick strength. The standard mat board works for most projects.
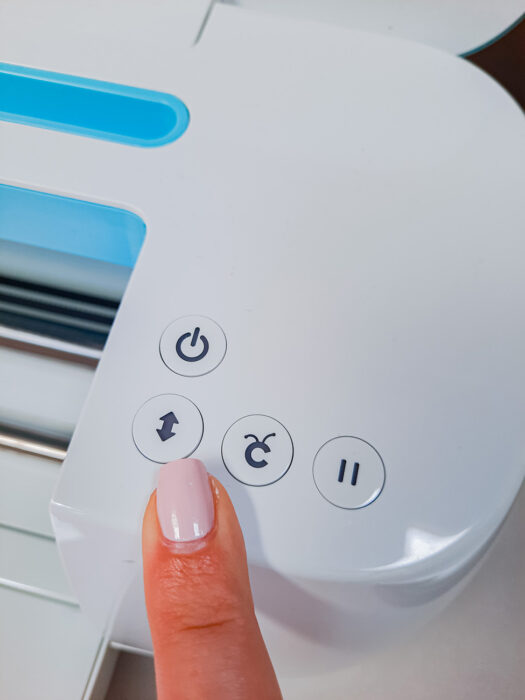
When you open your Maker by lifting the top part, it opens up and exposes the inside. This is where the cutting happens! Note the four buttons on the side. The top is to turn on the Cricut Maker (don’t forget to plug it in!), the arrow button is to feed the mat board into and out of the Cricut, the Cricut button is to start the project once the matte board is loaded into the Maker, and the final button is to pause during the cutting process.
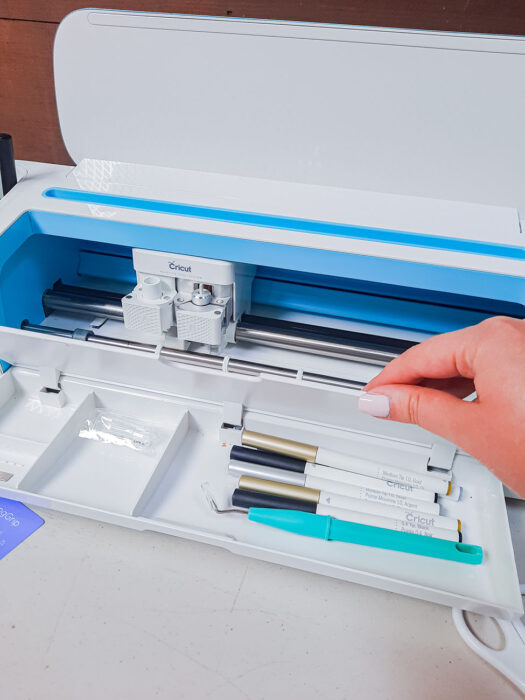
The adaptive tool system is the technology that cuts or draws on the different materials that you load into the Cricut. You’ll notice latches that have two separate sides. One is for the blades, and the other is for the pens. You’ll find a fine-tipped blade already pre-installed in the Cricut Maker. This is the blade that I primarily use.
On the side, there is a little cubby holder lined with silicone so you can store your blades without damaging them. On the bottom panel, you’ll notice the compartment that flips up for additional storage. Within that space, there is a little magnetic strip for keeping replacement blades contained.
Next, you’ll want to set up your Cricut. Click the link here to set up your Cricut. Follow the instructions to set up your account and download the design space. I also recommend taking advantage of the free trial. If you don’t like it, you can always cancel it within 30 days.
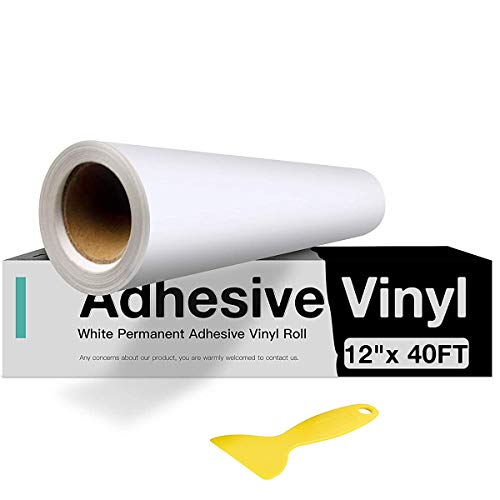
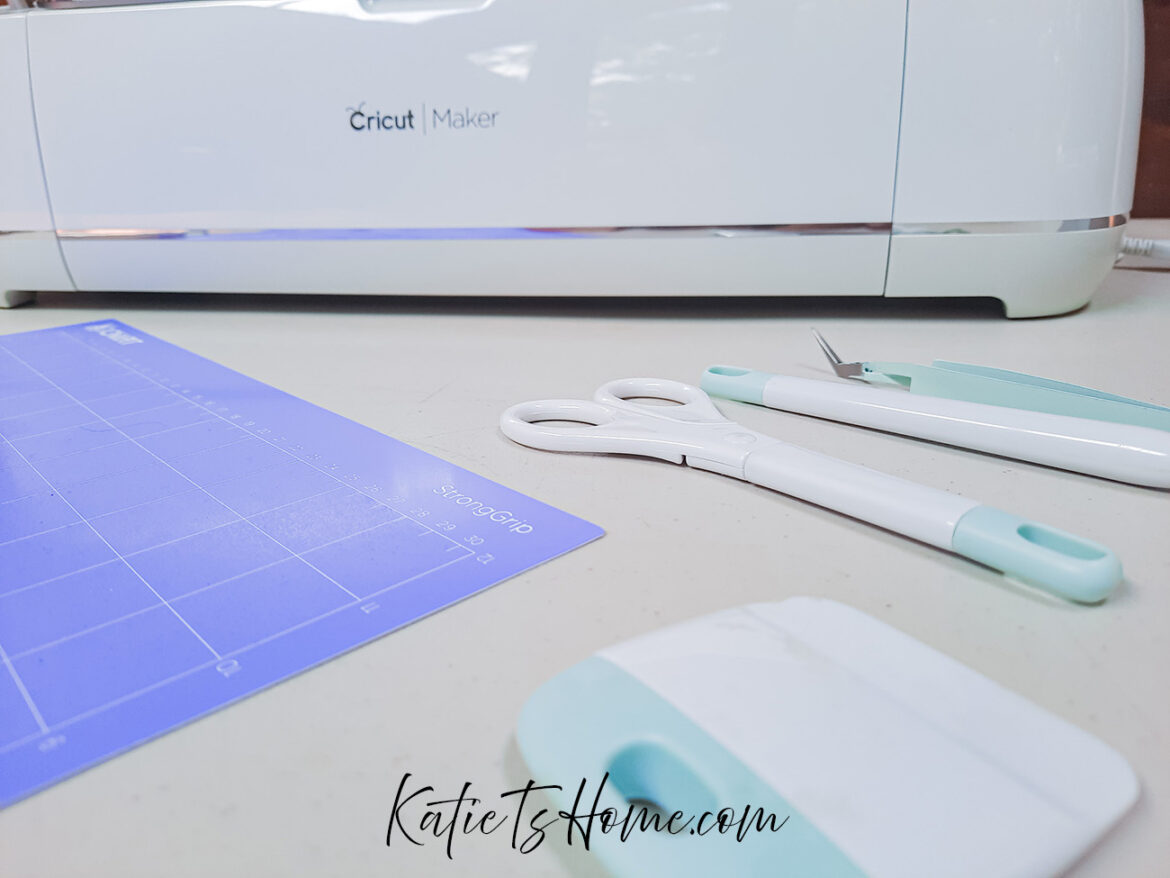
After you have set up your Cricut and downloaded the design space, you’re ready to start your first project! I recommend doing a test run with paper to get a feel for what to expect. To do this, you can peel off the plastic liner of your standard mat board. Make sure you put the plastic liner in a safe place, as this will be put back on your mat board when it’s not in use to keep it from getting dirty.
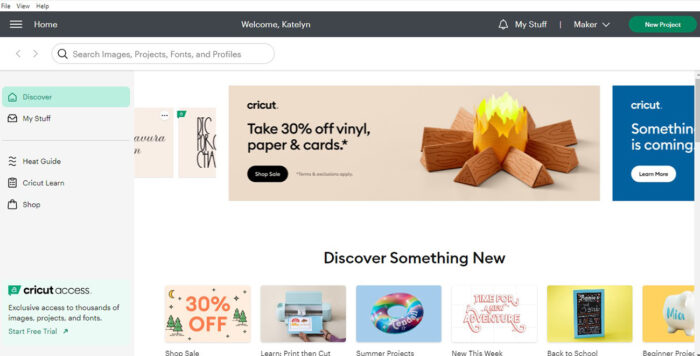
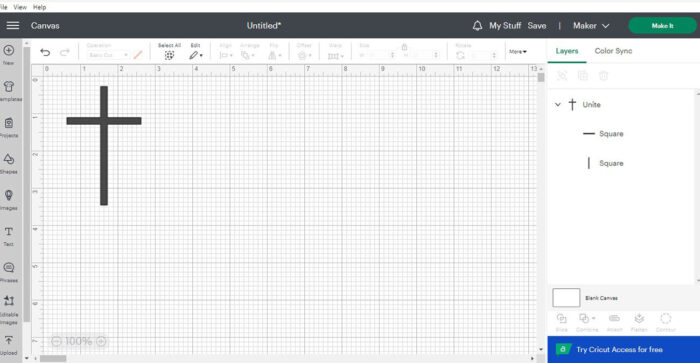
Next, plug your Cricut into your computer and outlet. Open the design space and click the “new project” button in the top right corner. On the left side, you’ll see a sidebar with different options. Enter a text, shape, editable image, or one of the other options as a test.
After you have a test icon or text to cut, look at the operation drop-down in the top left corner and make sure it’s set to basic cut. Then click “make it” in the top right corner.
The next screen will show you what it will look like on your mat. You can drag the icon to a different area, but I recommend keeping it in the top left corner. Also, make sure you have the material size set to the size of your mat board. The standard grip mat board that came with your Cricut is 12×12.
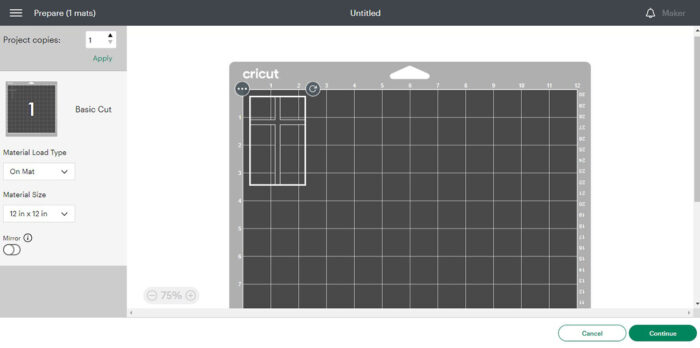
Also, make sure the mirror function is not selected. This function is helpful when using heat transfer, but for regular vinyl and paper, you most likely will not need this function.
For the final step in my Cricut Projects Beginner’s Guide, you’ll want to stick the paper to the mat board. Use a big enough piece so the blade doesn’t cut beyond the material. Be sure to stick it down in the top left corner of the matte board.
Next, click the continue button in the bottom right corner. On the next screen, confirm the blade is clamped into the B slot and select your material.
After that, is complete, place your matte board at the base of the machine. The two slots will hold it in place. You’ll also notice the arrow button is blinking. Click it to load the mat board into the machine.
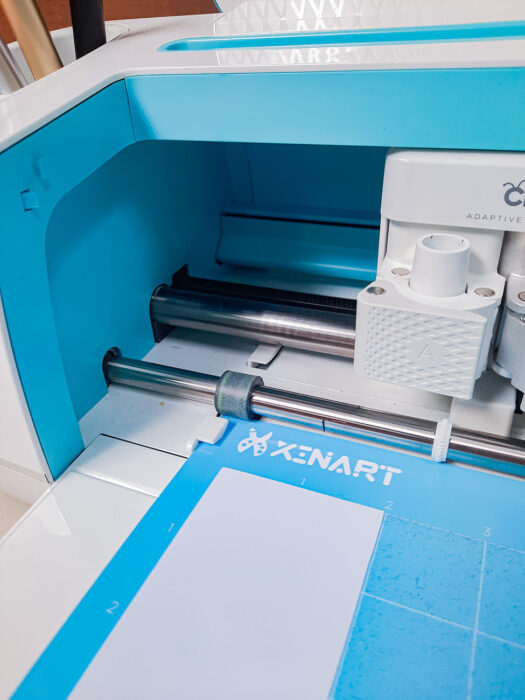
Once you load the mat into the machine, the Cricut button will start blinking. Click it to start the cutting process!
After the Maker has finished cutting the material, it will shift the mat board out. Click the arrow button again to remove it from the machine. And that’s it! Easy as can be! You can peel your paper off the mat board and weed the design out from the rest of the paper.
So, there you have it! A step-by-step guide on how to set up your Cricut Maker! I hope part two of the Cricut Projects Beginners Guide was helpful and informational. Please feel free to reach out if you have any questions! I would love to hear feedback 😊 Comment below if there are any tutorials you would like to see with this beginner’s guide!


Leave a Reply