Your cart is currently empty!


Hello! Okay, so I’m about to show you this DIY vase refurbished idea. But, before I do, I’ll be completely honest. It’s super simple and easy, but if you skip one of the steps, you will not get the results you’re looking for. So make sure you read the whole tutorial so you don’t miss anything!
So without further ado, let’s jump in!
This post may contain affiliate links, which means I’ll receive a small commission if you purchase through my links, at no extra cost to you. Please read full disclosure for more information.

Get all my favorite digital downloads today!
I also ask that you please leave your thoughts in the comment section below. I’m always trying to produce helpful content for my readers, and without knowing what you think, it’s hard to know what you find helpful/not helpful. So please leave your thoughts below!! 🙂
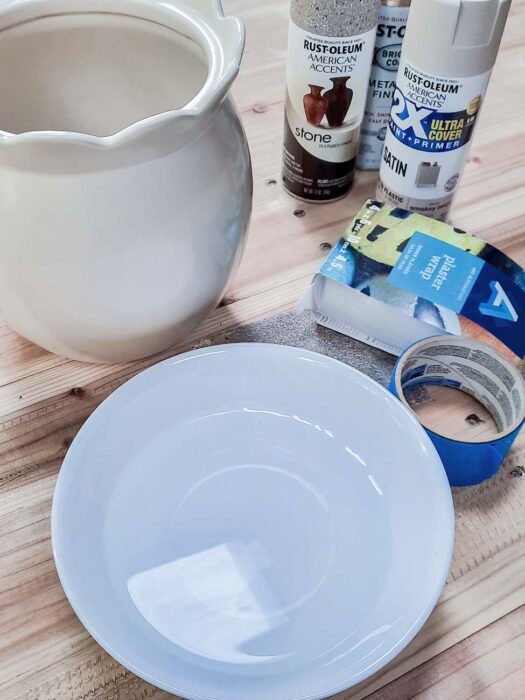
I sanded the vase lightly before I got started. This way, the plaster wrap will have an easier time adhering to the vase.
Next, you’ll want to clean the vase.
This step is optional if you want to have a nontextured area like I did on mine. But essentially, all you’ll need to do is add some masking tape to the vase wherever you don’t want the plaster wrap to go.

Get all digital downloads for a fraction of the price with this bundle deal!
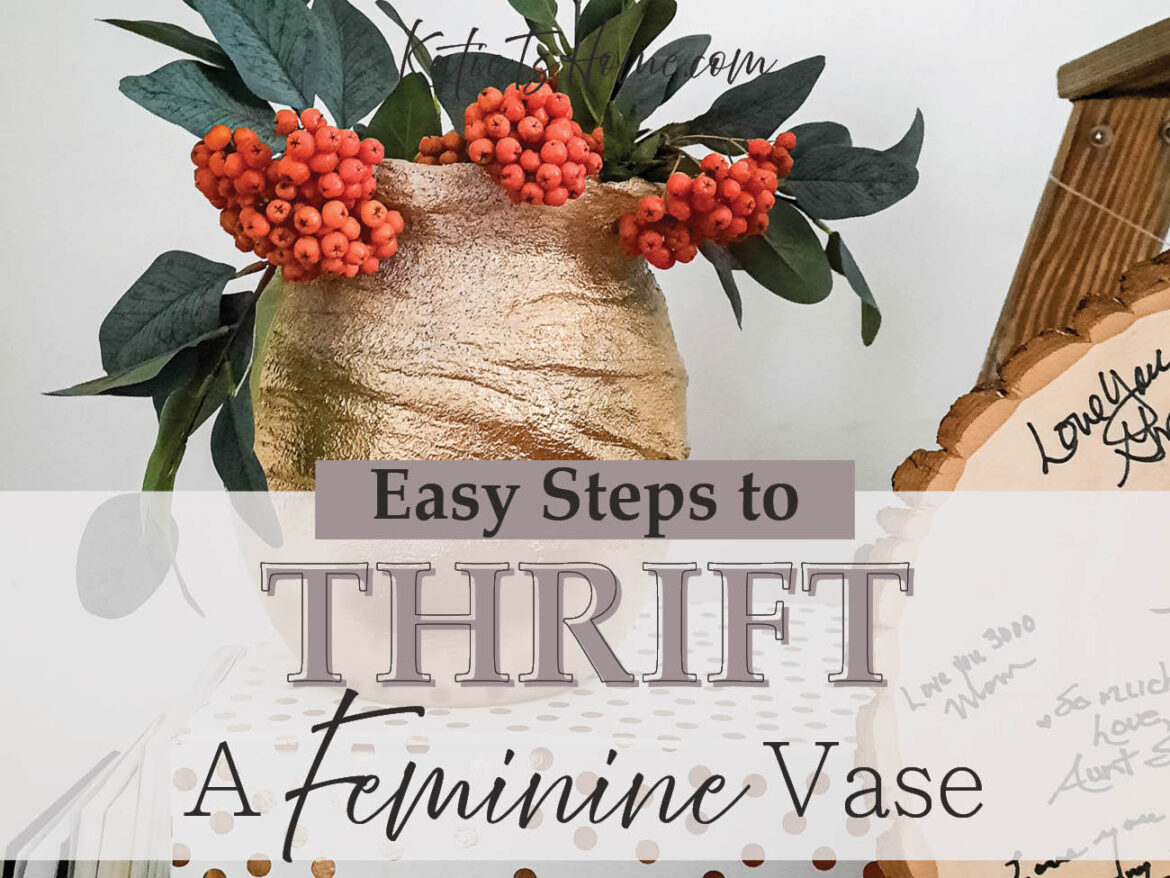
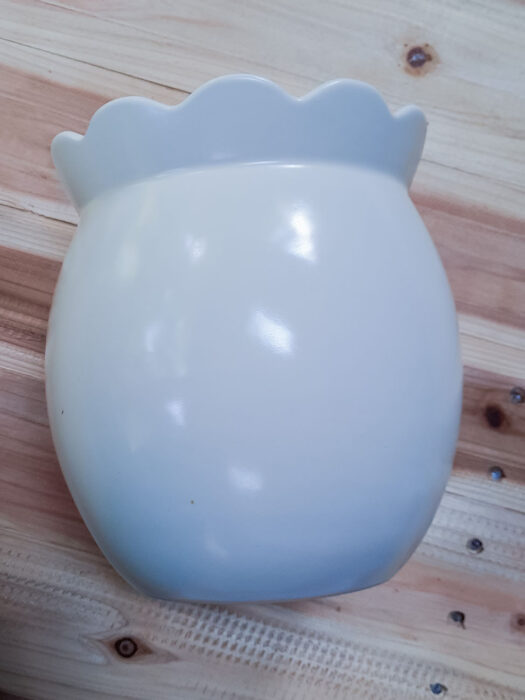
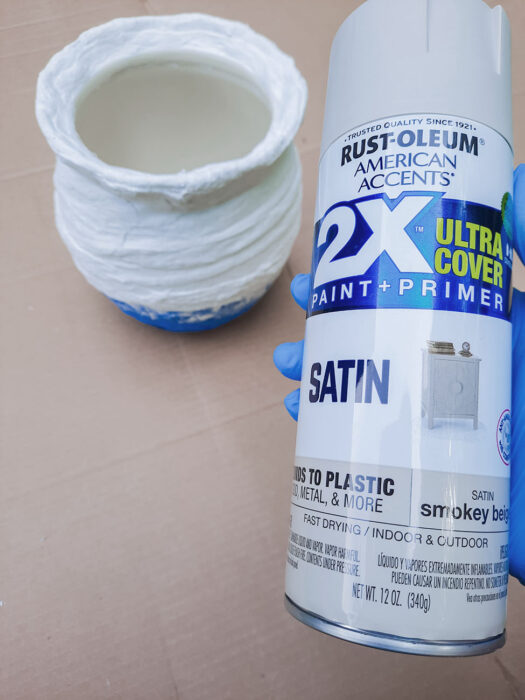
Now comes the fun part of this DIY vase refurbishment! You get to add the plaster wrap. To do this, you’ll need a bowl of water and cut-up pieces of plaster wrap.
Once you’ve cut the plaster wrap into manageable pieces, you’ll need to dip it in the water to get the strip of plaster wrap completely wet. Take it out of the water, but hold it over, so you don’t drip everywhere.
Next, take your fingers, and starting from the top of the strip, pinch and slide your fingers down the plaster wrap. The point of doing this is to distribute the plaster throughout the wrap so you don’t end up with tiny little holes. This step is very important and will make applying the plaster wrap to the vase easier.
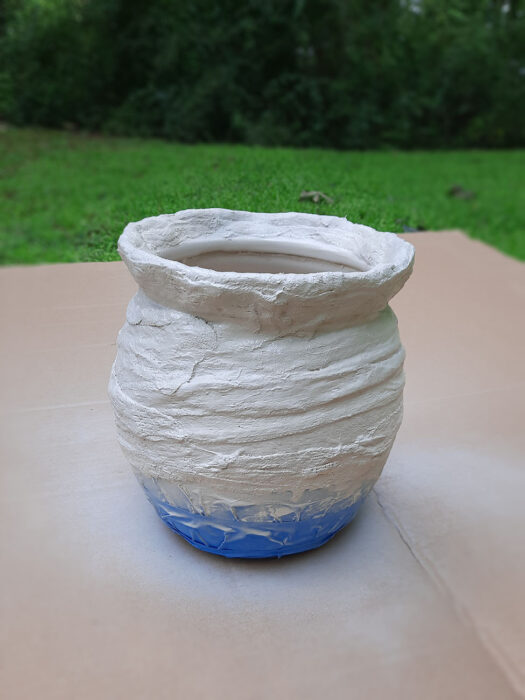
Once you’ve done the step above a few times and the plaster is even on the strip, you can add it to the vase. Because I wanted to fill in parts of my vase, I applied it to the negative areas in the top section.
To get the ripple effect on the vase, you’ll need to wrap the plaster piece relatively flat to start. It doesn’t have to be perfect because you’ll bunch up certain areas anyway. Then, after you bunch it up in those areas, take your finger and smooth out the rest of the wrap.

I also want to note that you shouldn’t put any plaster wrap over the masking tape. Unlike paint, this will rip the plaster when you remove it. Look at the tape as more of a guide than anything else.
After you have completely wrapped the plaster around the vase, let it sit and completely dry. I left mine overnight before I attempted any spray paint.
Next, you can spray paint your vase! Keep the tape on the bottom for now, then spray paint your vase with the first coat. I used smokey beige.
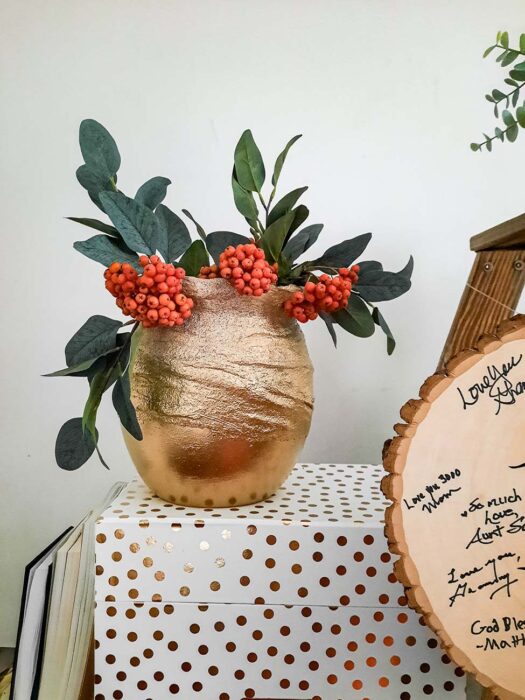
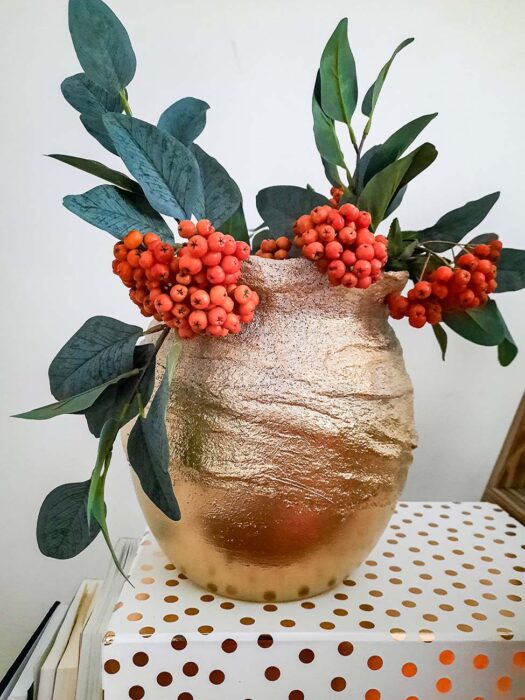
Then, if you choose to get the textured look, you can spray paint it with stone spray paint. I did two coats of this on mine. Also, before the second coat, I removed the masking tape so the bottom part got texture.
For the final coat, I used the gold spray paint.
After you’ve spray-painted it to your liking, let it completely dry.
Yay! Now you know my DIY vase refurbished idea! If you did this DIY project, comment below on how your vase turned out! I’d love to hear it! Reach out if you have any questions!
Leave a Reply