Your cart is currently empty!
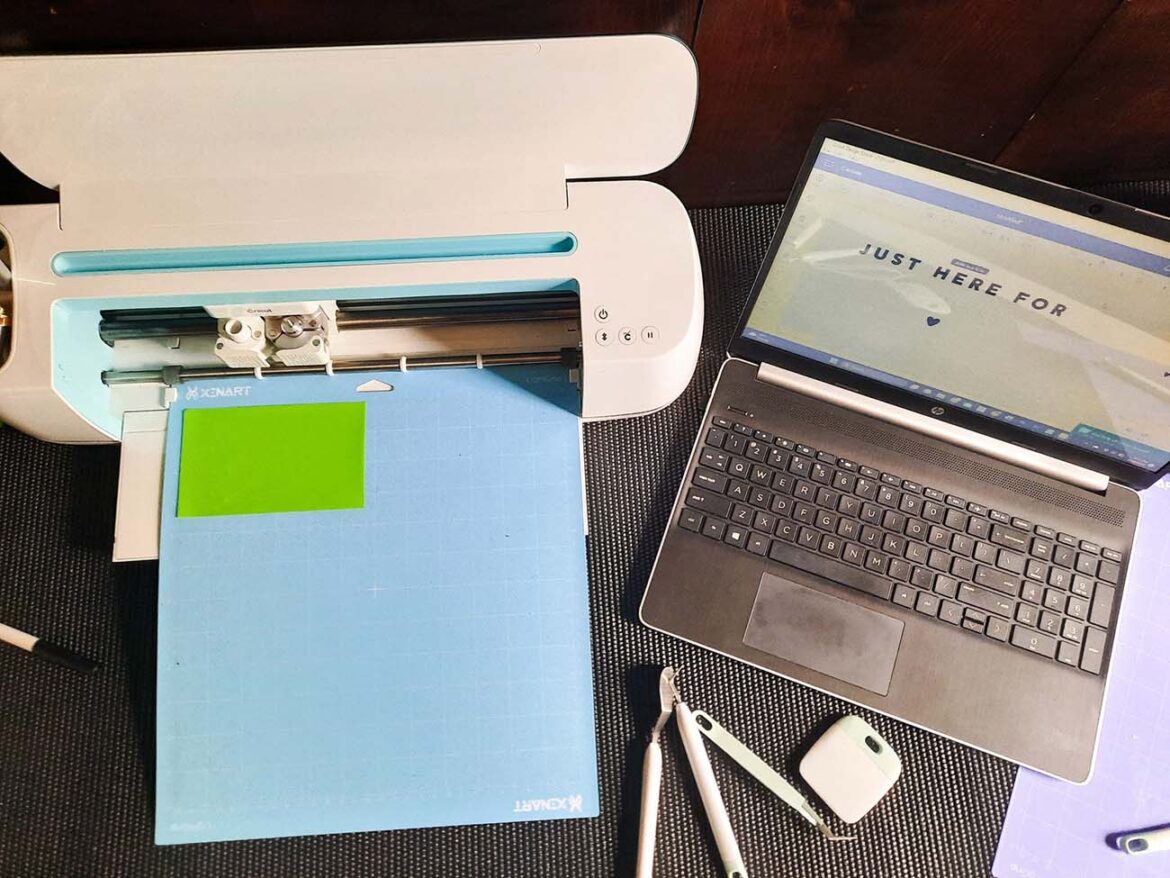
Welcome to the first part of the Cricut Projects Beginner’s Guide. Today I will walk you through everything you need to know about a Cricut Maker before you invest. I have learned a lot about my Cricut Maker after I made the purchase, and I wish I had known then what I know now. So, let’s get started!
This post may contain affiliate links, which means I’ll receive a small commission if you purchase through my links, at no extra cost to you. Please read the full disclosure for more information.
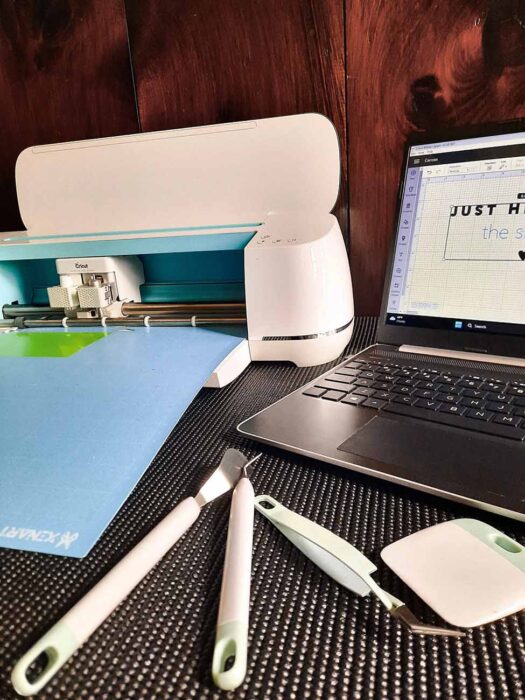
I bought my Cricut Maker because I wanted to DIY a lot of signs and projects for my wedding. When I got introduced to Cricut’s, I did research beforehand on what they were. I feel like there was a lot of the same information out there, but I never really understood the true purpose until I was exposed to and working on projects.
Perhaps the information was out there, and I didn’t know how to look for it, or I didn’t quite understand what others were saying. But besides that, I am going to break down what a Cricut is and what you should know about it before you make the purchase.
I also want to note that even if I did know then, what I know now, it wouldn’t have changed much. I would have still bought the Cricut, but I could have saved myself money in the long run.
Believe it or not, this was one of the main questions that I never felt was explained. I feel like a lot of content on Cricut is primarily about tips and tricks on achieving elements within the design space, the difference between the Maker and Explore, or the different types of projects you can accomplish.
So, to answer the question, a Cricut is a glorified machine that can cut thin material. The types of material vary depending on the Cricut you get, which I will discuss in the next bullet point. But the material I use for most of my projects is vinyl. Vinyl is a flexible plastic with an adhesive side. So, if you are making a sign, you can cut out vinyl lettering to stick to the base.
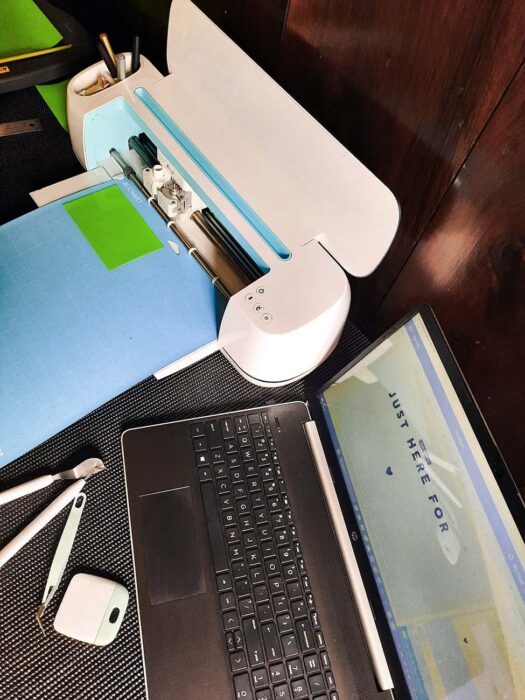
Before I bought my Cricut Maker, I imagined it to be more of a printer and cutter combined. This is not the case. You can print on, let’s say, paper separately and cut it after. However, printing and cutting are not a feature of the Cricut.
I was confused before because I’d see other projects that people did on Pinterest. The layering they did gives the illusion that it’s one piece. But to achieve a final product like that, they had to cut each color out separately. Then stick the vinyl over each other to make it look like one piece.
Essentially it is a machine that cuts the outline of whatever you provide. The small blade and accuracy allow the edges to be crisp and dynamic in comparison to cutting the material by yourself with scissors. I go into more detail on how to use a Cricut in part 2 of the Cricut Projects Beginner’s Guide.
The type of Circuit is what I remember reading about when I did my research before. Because there is already a lot of information about this, I won’t go into too much detail here. But, you have a couple of options. I bought the Cricut Maker because it allows you to use different blades that can cut a variety of materials.
At the time, I wanted the added flexibility of the additional products, so it was worth the extra cost. Now, having had my Cricut for almost 3 years, I admit, I only use it to cut vinyl.
You can find the most recent Cricut Explore here if that is an option you are considering exploring. I will say the Cricut brand is high quality in my book. It’s the KitchenAid of the craft world, sort of speak.
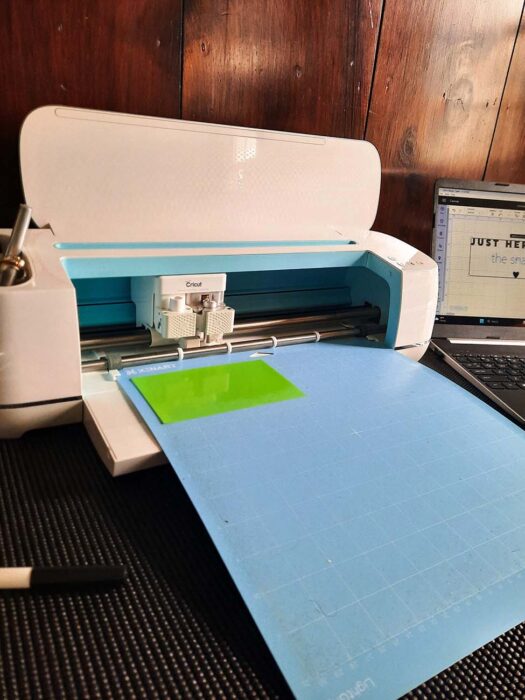
Besides vinyl, on occasion, I have cut paper and matte board. I tried to cut thin wood once, but it took forever. Plus, the grips on the anvil roll left a mark in the wood. At the time, the project wasn’t important enough to finish or research how to remove the grips. As a result, I stopped it and worked on a different project.
So, with all that said, you should think about the types of projects you anticipate doing. I know it’s hard to say now because you won’t know until you get to that point. It helps to look at the projects others do on Pinterest to get an idea.
Examples are nice to understand the bigger picture. Below are my wedding pictures of some of the signs I made. I used the Cricut for the bar menu sign and the black slate cocktail labels.
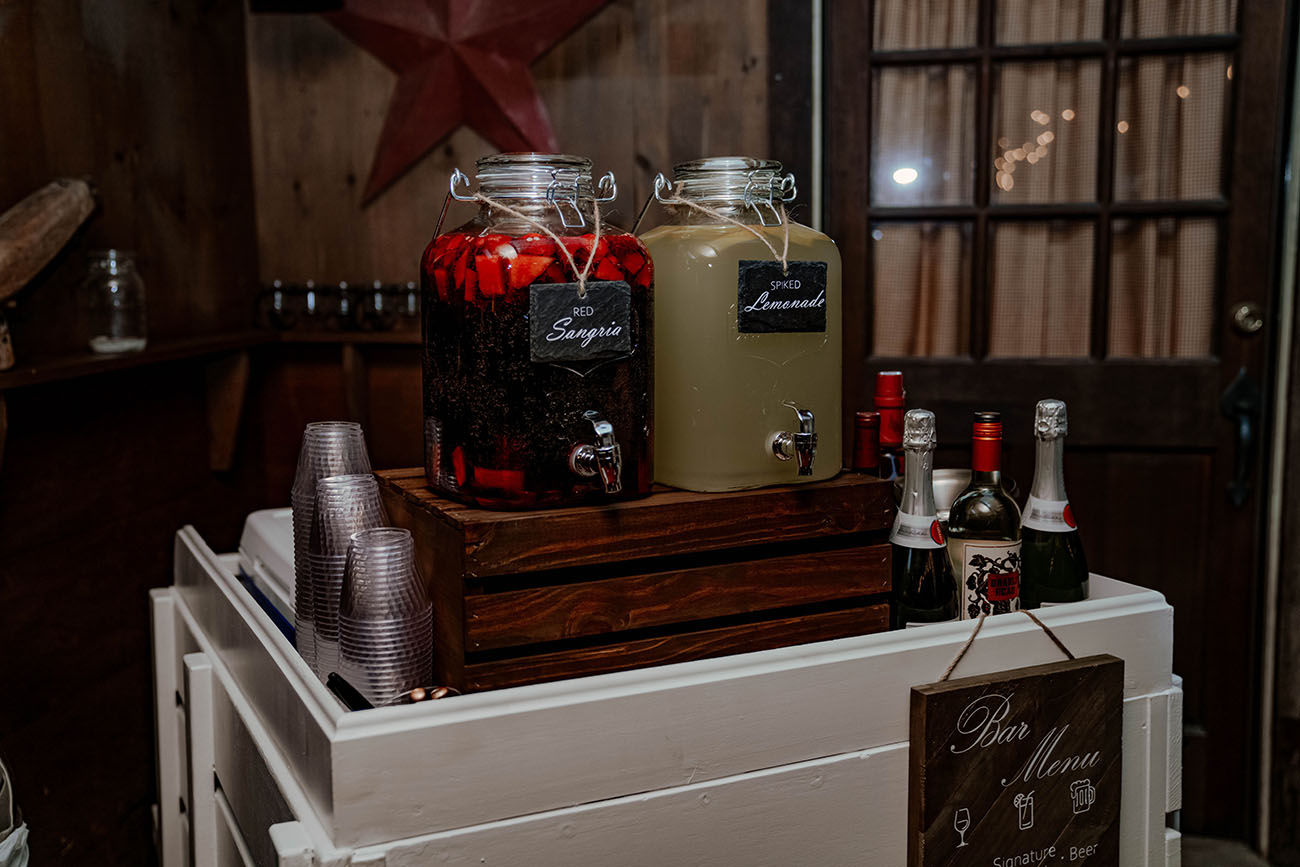
Photo Take By: Stonebrook Studio & Design
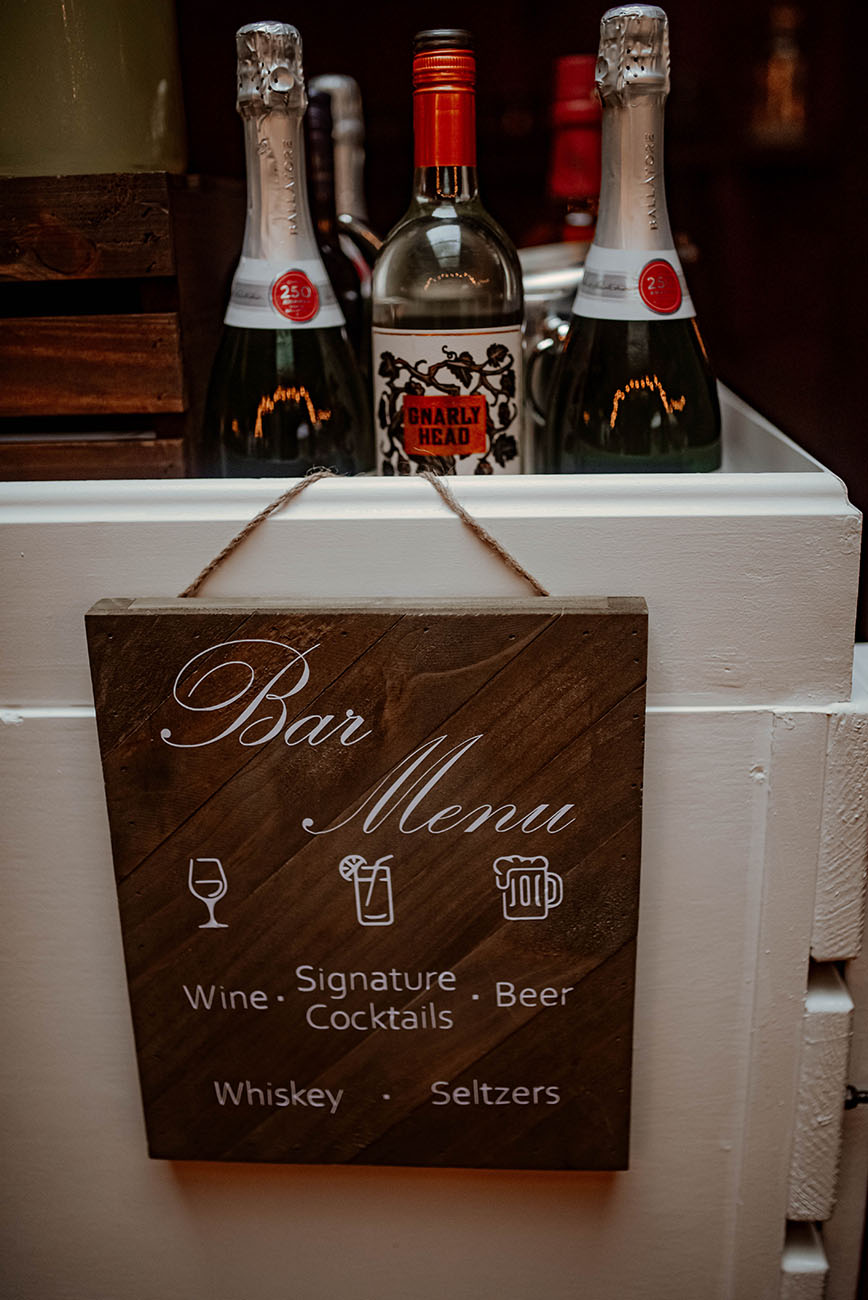
Photo Take By: Stonebrook Studio & Design
I uploaded the image I wanted to the Design Space and placed a white piece of vinyl on the mat. From there, the Cricut cuts out the image on the white vinyl.
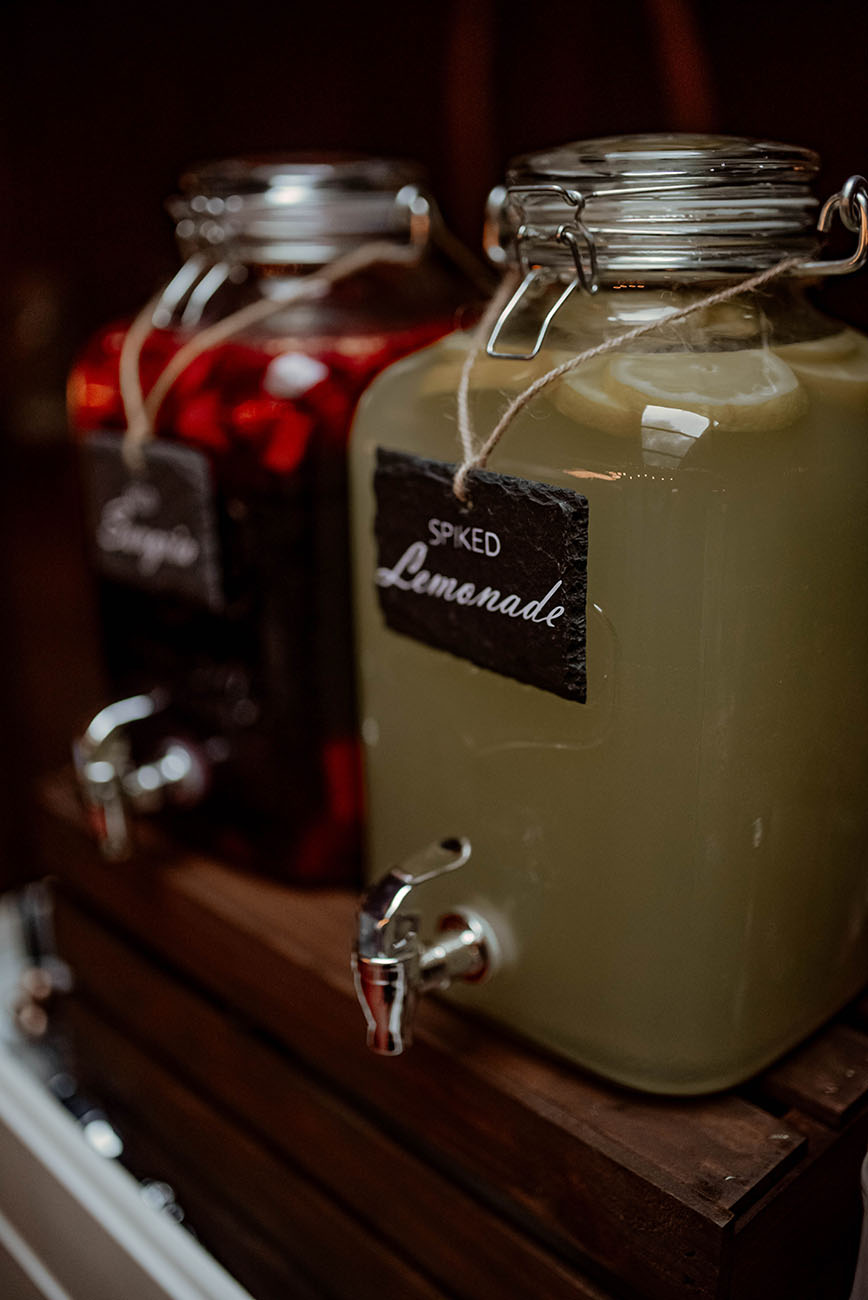
Photo Take By: Stonebrook Studio & Design
When I bought my Cricut, I bought a lot of supplies that I didn’t need, at least not right away. For example, I bought the heat press to customize robes as a bridesmaid gift. The heat transfer vinyl allows you to customize fabric shirts/robes/etc. But I could have customized their robes without the heat press by using a regular iron.
Now, that’s not to say the heat press didn’t serve any use. I am glad I have it because I needed it for two recent projects. Depending on the projects you want to accomplish, you might not need to buy a heat press right away. However, if you plan on customizing large quantities of shirts and fabrics, then I highly recommend getting the heat press.
I also bought extra mats and blades, not realizing the Cricut included them in the package. Be sure to read what is included with your Cricut. One mat and blade are sufficient in the beginning. Unless you plan on cutting wood, fabric, etc., you will need a specific blade or even a heavy-duty mat.
I did use the feature to write a few times, so it could be worth getting markers for your Cricut. As you can see tags in the bridesmaid baskets were written with the Cricut.
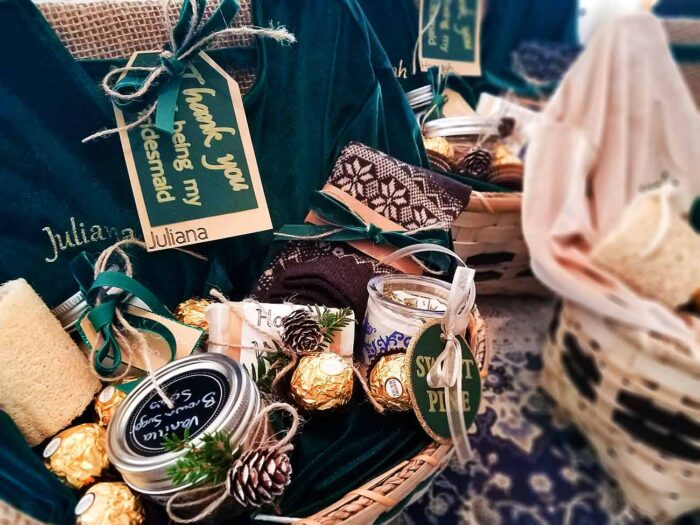
One thing I do not like about the writing feature is that the Cricut only does the letter outline. So, the fine-tip pen does not do a straight line but the outside edge of the letter. I am sure there are ways around it.
So, besides the Cricut itself, the materials I’d recommend you purchase in the beginning are vinyl and transfer tape. I use a lot of white and black vinyl, so I always have this on hand. I also recommend buying a pack like this one to give yourself a variety of colors.
The transfer tape is needed when you want to put the vinyl on an item. I did a project recently where I customized my spice jars. I discovered I could double up and reuse the same transfer tape repeatedly. Before I would cut out a new piece every time. It was nice to reuse the transfer tape and avoid wasting materials.
I also use these weeding tools ALL the time. Definitely a must-have and I will go into more details about weeding in part 2 of Cricut Projects Beginner’s Guide. Along with this guillotine if you plan on doing bulk projects.
So, one thing they do not tell you about having a Cricut is that they require a lot of space. Whether you are working on a project or when it is put away.
I have a decent-sized craft closet and the Cricut supplies alone take a decent amount of space. For me, it is not a super big deal, but it is something to be made aware of.
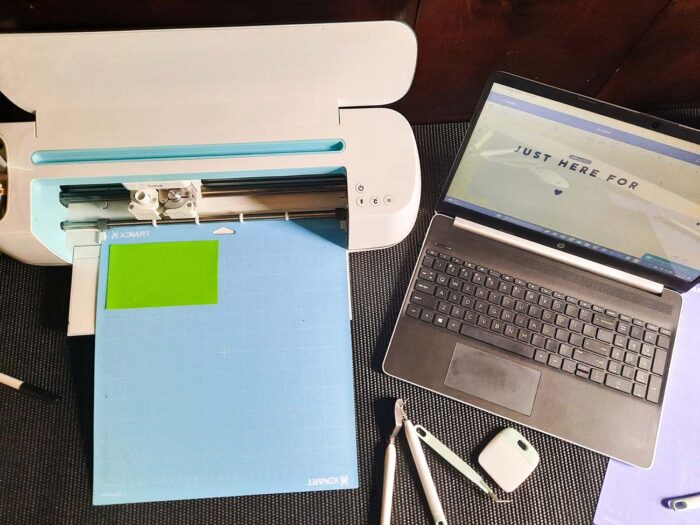
If you live in a small apartment, know that this hobby requires some space, especially when working on projects. It’s worth it in the long run, but it is something to keep in mind.
Okay, so this is where I’m going to get critical. The design space is my least favorite part of the Cricut. There is no way around it. The design space is the interface to tell the Cricut what you want to cut. You access it by following the instructions included with your Cricut and making an account.
I dislike it for a few reasons. Primarily because it’s not user-friendly and the features of what you can do are limited.
Now, in full honesty, I am used to Adobe Suite. Adobe is a paid subscription to different applications like Photoshop, InDesign, and Illustrator. So essentially, I am spoiled with a creative design space that has a lot of functions and abilities.

So comparatively, the Cricut design space has a lot of areas where they could improve. Would I notice this if I didn’t have access to Adobe Suite? I probably wouldn’t be as picky. However, all things equal, out of the three Cricut material content listed earlier, one was how-tos and tutorials on accomplishing different aspects within the design space. I feel like if the design space was user-friendly or had more functions there wouldn’t be so many tutorials.
But like I said there is no way around it. Now that I know how to use the design space, it’s easier to navigate. It was a learning curve like most things. I do feel like updating the design space to allow for more features would be something that would be nice to see.
So, there you have it! Everything you need to know about a Cricut BEFORE you make the purchase. I hope part one of the Cricut Projects Beginner’s Guide was helpful and informational. Please feel free to reach out if you have any questions! I would love to hear feedback 😊
[…] who are unfamiliar with what a Cricut is, I have put together a guide that you can learn more about here. For those who want a recommendation, I recommend the Cricut Maker. This workhorse has been […]
[…] Over time it was a lower-priority item to take care of. So, unfortunately, time and weather took its toll on the cart. Luckily for me (and the cart), I recreated it into an outdoor bar cart for my wedding celebration! I have photos of what it looked like in the post here. […]
Leave a Reply