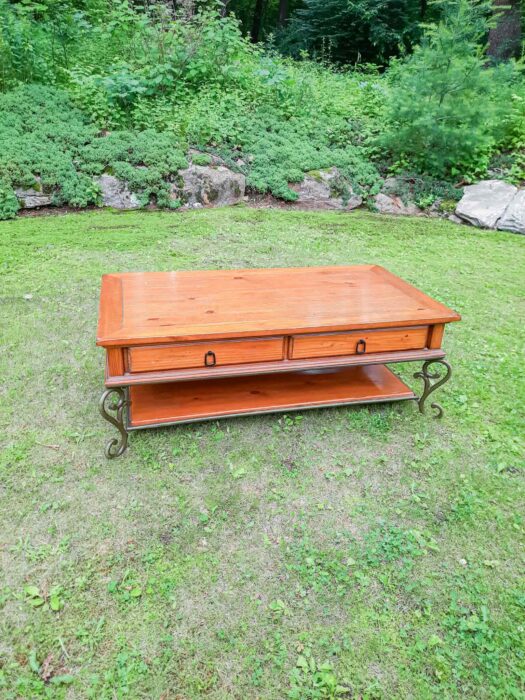
Hello! How are you today?! I hope you are doing well :). Recently I refurbished my coffee table and wanted to let you in on a little secret for these types of projects. The “secret sauce” that makes this DIY: Coffee Table Refurbished the Easy Way hold its truth. So let’s jump in!
This post may contain affiliate links, which means I’ll receive a small commission if you purchase through my links, at no extra cost to you. Please read the full disclosure for more information.
Okay, so the secret to success is simple. If you want the project to be easy, you must use a stain stripper. BAM! It’s really that easy.
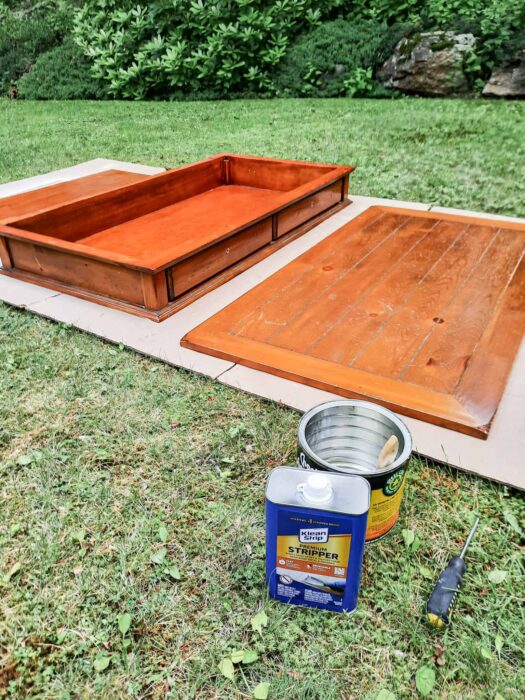
Now the next question becomes, what stain stripper is best to use? Personally, I can’t speak for all the stain strippers, but I do have experience with Klean Strip’s Premium Stripper, and there is a reason why I chose this stain stripper over Citristrip that will be discussed later in this post.
Here is a guide if you want a full detailed tutorial on how to refurbish your coffee table from start to finish. For this post, I will highlight the major pros and cons of using Klean Strips Premium Stripper for your DIY Projects.
Tips on Using Klean Strips Stain Stripper
Before I get into the pros and cons, I want to mention a few tips and tricks to get the best experience using this product.
Layer the stain stripper as thick as you can. If you don’t, the stain stripper will absorb into the furniture, and it’ll be harder to remove the stain. You’ll have to reapply if that happens, so load it up!
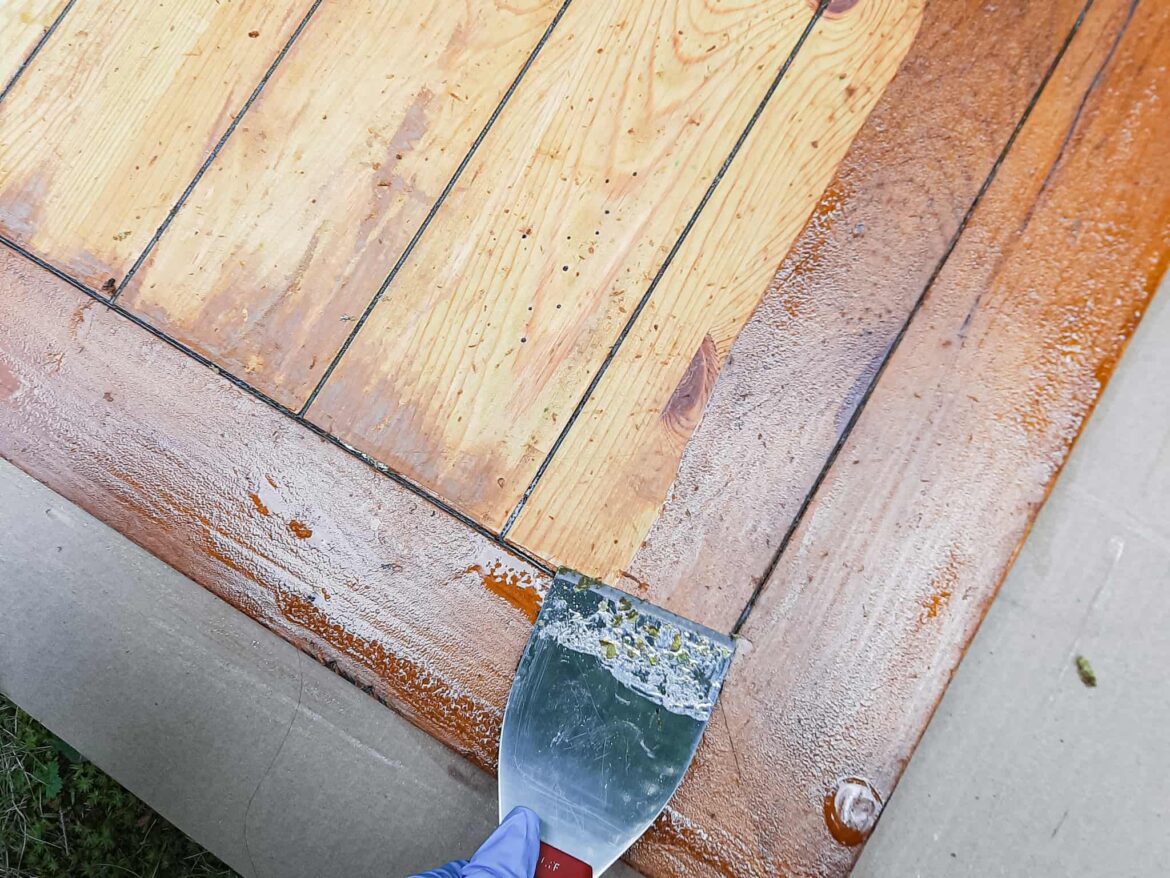
Wear gloves!! This stuff is no joke. I go into more detail in my tutorial here, but needless to say, it ate away at a plastic cup, which leads me to my next bullet.
If you decide to pour the stain stripper into a container (vs. right on the furniture), use a metal container and not plastic. It will eat away at thin plastic.
The instructions specify a plastic putty knife, but after what happened to me with the plastic cup, I decided to use metal. They probably recommended plastic so the metal putty knife doesn’t scratch the furniture surface. A way around this is to sand the edges of the metal putty knife, and then you’re good to go!
Work in sections. The first time I used the stain stripper, I applied it to all the pieces. When I used the stain stripper for this project, I found it easier to work in sections.
Contrary to the instructions, once I applied the stain stripper, I found it easier to wait only a few moments and then start working at stripping the stain vs. the recommended 15 min.
Make sure you have enough stain stripper on hand. To put it in perspective, I had some leftover in a quart container plus a whole quart for this project. I finished the top and bottom pieces, plus the bottom part of the middle section. I didn’t have enough to finish the sides of the middle section, so I had to go to the store to pick up more.
After you have stripped the stain with the putty knife, go over the piece of furniture with mineral spirits and a clean sponge to remove any excess stain and stripper.
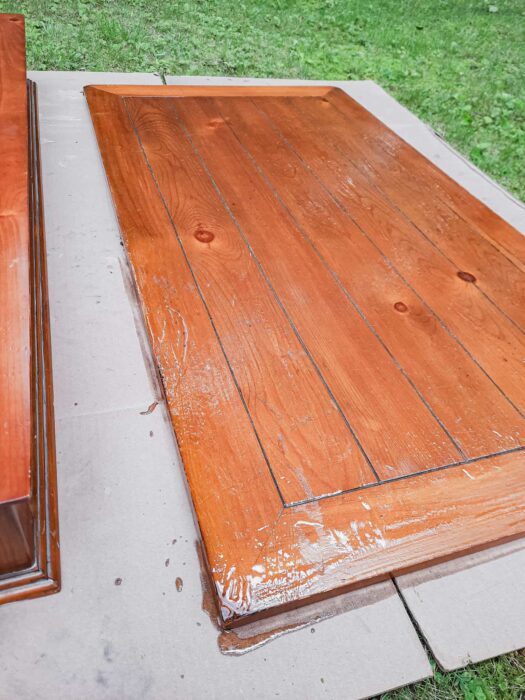
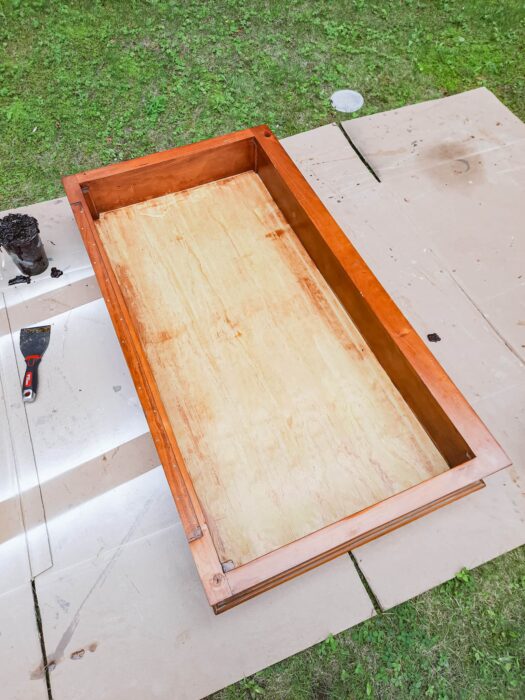
Lastly, The stripper does appear to dry the wood out a bit. The image below shows the wood splitting. This probably would have happened if I sanded it, but it’s a callout that I want to bring to your attention.
✨Top Deal ✨
Get all digital downloads for a fraction of the price with this bundle deal!
Pros of Using Klean Strips Stain Stripper to Refurbish a Coffee Table
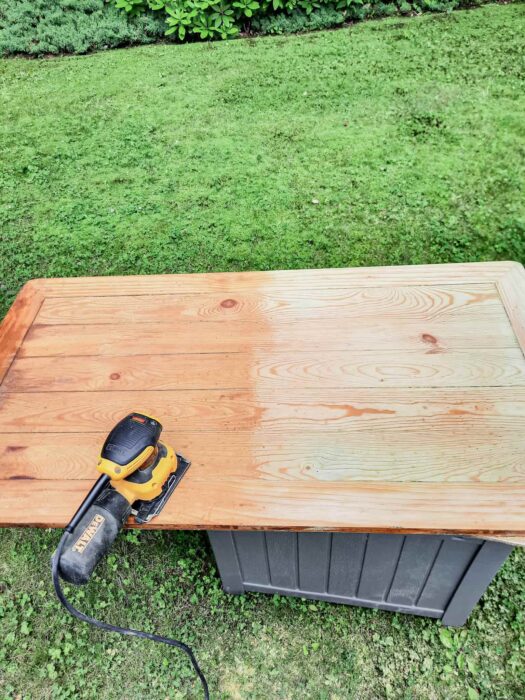
It makes the project a lot easier because you don’t have to sand as much. In my experience, you still need to finish the project with a light sanding after using the stain stripper, but it significantly decreases the amount.
It’s satisfying to watch the stain as it’s getting removed.
After researching Citristrip reviews, I discovered it can leave your furniture with a blotchy texture. Klean Strip doesn’t have that negative side effect, which is why I chose their stain stripper.
Cons of Using Klean Strips Stain Stripper to Refurbish a Coffee Table
It has intense chemicals.
It can get messy (but then again sanding can too).
It can get pricey, which can defeat the purpose of upcycling furniture.
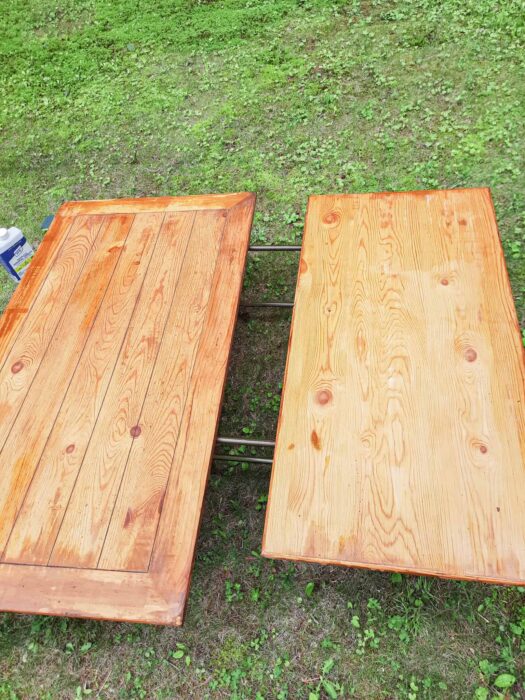
You still have to sand. The type of wood affects the efficiency of the stripper. Whether it’s the stain stripper at fault or just how the stain sits on the wood either way, you’ll need to do some light sanding at the end. The good news is it’s relatively easy because most of the stain has been removed. See the image below for a comparison of the two. The left side is just the stripper, and the right is with the final sanding.
Final Thoughts on Using Stain Stripper to Refurbish Furniture
So there you have it! My DIY: coffee table refurbished the easy way secret is for you to keep! I hope this review has cleared up any questions you may have had. As a whole, I would recommend using the stain stripper over not using it even with the cons
I am considering testing Citristrip to see if it does leave the furniture blotchy. Considering I have to sand after using Klean Strips Premium Stripper, maybe I’ll have to do the same with Citristrip so the blotchyness wouldn’t be an issue. What do you think? Should I test out Citristrip? Comment below if you think I should or shouldn’t test it out! Thanks!
To provide the best experiences, we use technologies like cookies to store and/or access device information. Consenting to these technologies will allow us to process data such as browsing behavior or unique IDs on this site. Not consenting or withdrawing consent, may adversely affect certain features and functions.
Functional
Always active
The technical storage or access is strictly necessary for the legitimate purpose of enabling the use of a specific service explicitly requested by the subscriber or user, or for the sole purpose of carrying out the transmission of a communication over an electronic communications network.
Preferences
The technical storage or access is necessary for the legitimate purpose of storing preferences that are not requested by the subscriber or user.
Statistics
The technical storage or access that is used exclusively for statistical purposes.The technical storage or access that is used exclusively for anonymous statistical purposes. Without a subpoena, voluntary compliance on the part of your Internet Service Provider, or additional records from a third party, information stored or retrieved for this purpose alone cannot usually be used to identify you.
Marketing
The technical storage or access is required to create user profiles to send advertising, or to track the user on a website or across several websites for similar marketing purposes.


Leave a Reply