Your cart is currently empty!


Are you ready to take your entertaining game to the next level? Imagine delighting your guests with a stunning wood and marble charcuterie board, crafted with your own hands! This DIY charcuterie board isn’t just any ordinary serving platter; it’s the perfect blend of elegance and functionality, designed to impress!
Did I mention it’s not only food-safe but a fraction of the cost of buying similar charcuterie boards? Because it is! Whether you’re an experienced DIY enthusiast or a beginner looking for wood projects that sell this comprehensive guide will walk you through every step and technique you need to know to create the perfect charcuterie board.
This post may contain affiliate links, which means I’ll receive a small commission if you purchase through my links, at no extra cost to you. Please read the full disclosure for more information.

Get all my favorite digital downloads today!
I also ask that you please leave your thoughts in the comment section below. I’m always trying to produce helpful content for my readers, and without knowing what you think, it’s hard to know what you find helpful/not helpful. So please leave your thoughts below!! 🙂
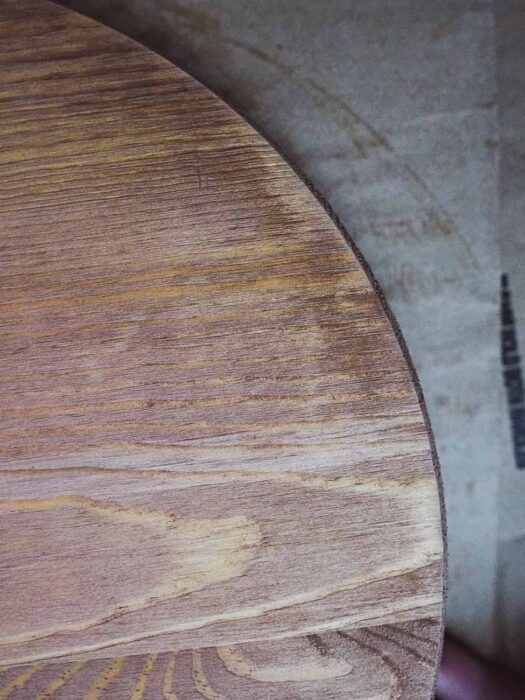
Choosing the right wood for your charcuterie board is a vital step in ensuring its beauty and durability. The type of wood and shape you select can enhance the overall aesthetic of your platter and determine its functionality.
I picked up this pine wooden round at Michaels, but you can also get similar ones on Amazon. They have a package deal or even wooden rounds with an edge.
Just note that applying the marble vinyl on a round edge is harder than a flat edge, so keep this in mind when picking your board. I will walk you through how I did it in the steps below.
Also, consider the color and grain pattern of the wood when choosing which one to use. Each wood variety has unique characteristics and hardness. So, if you chose a maple or oak and stained it like I did on my pine charcuterie board, then the color will look different. So, again, keep this in mind.
Additionally, it’s important to choose food-safe wood. Avoid using wood that has been treated with chemicals or finishes that may be harmful when in contact with food.
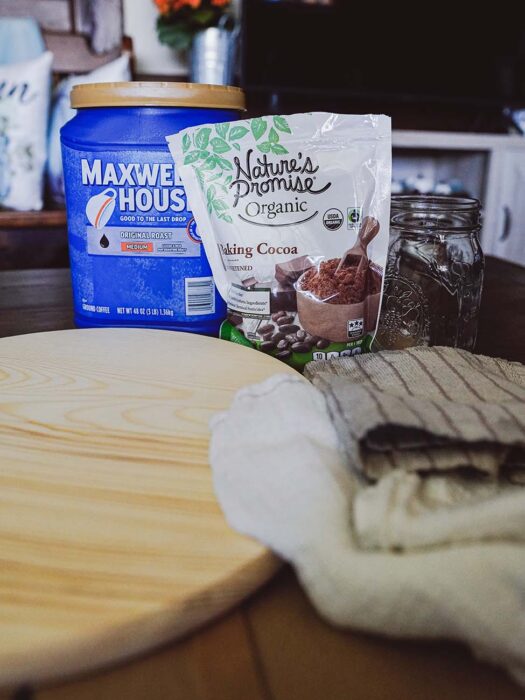
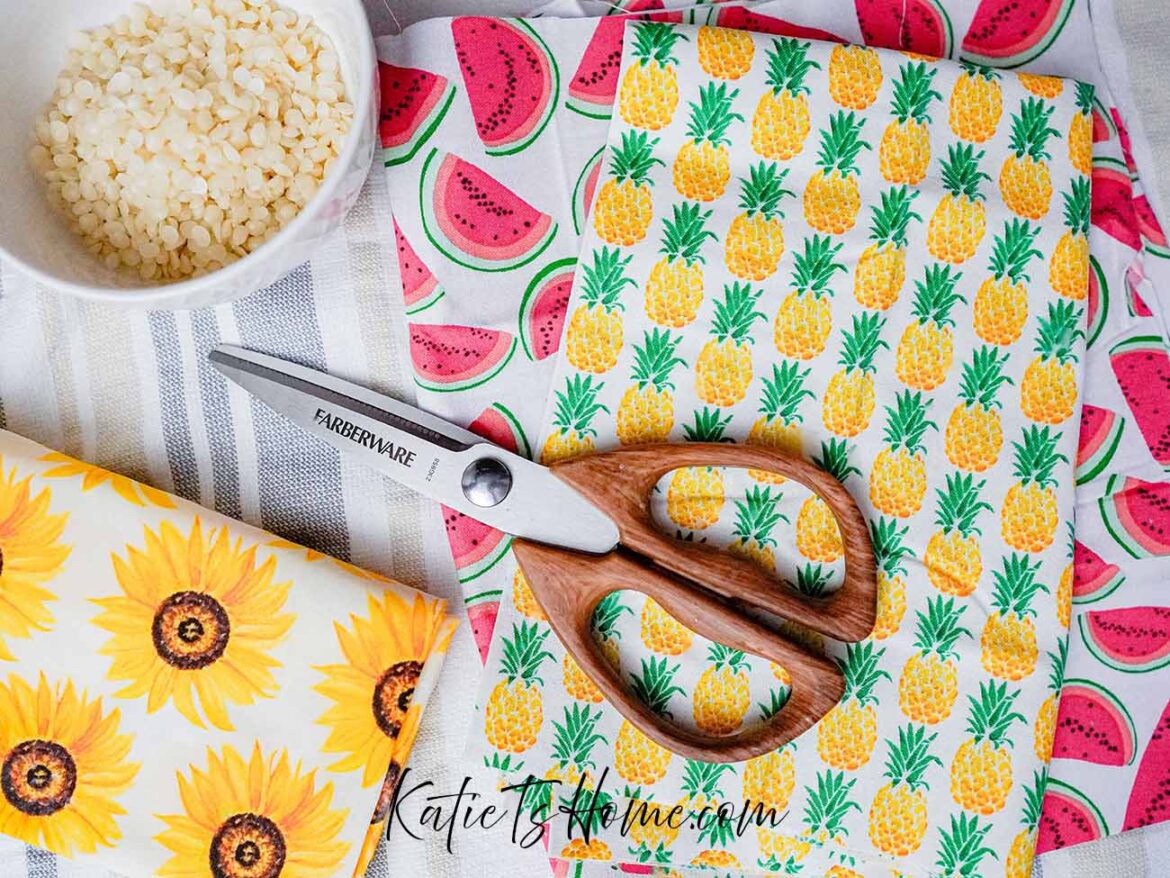
Before you can transform a simple wooden board into a stunning charcuterie platter, you’ll need to gather the materials.
A couple of things to note here. I will go into more detail in the section below on how I made the food-safe stain using cocoa powder, coffee, and wine. I also made the food-safe sealer using beeswax and butcherblock oil and will create a post and link it here. In the meantime, you can get similar sealers on Amazon.
I also want to disclaim that the vinyl itself doesn’t claim to be food-safe however, I used this vinyl on my counters several years ago, and I can’t imagine there would be any issues using it on the charcuterie board. I also plan on sealing the beeswax over it for an added layer, but proceed however you feel comfortable.
Now that you have all the materials for the board, it’s time to take it to the next level by applying a food-safe stain. A food-safe stain not only enhances the natural beauty of the wood, but it’s easy and cheap to make!
There are many ways to make different variations of stain at home. I chose cocoa powder and coffee. I’m not entirely sure if the brand affects the coloration of the stain, but I used Nature’s Promise cocoa powder and Maxwell House ground coffee.
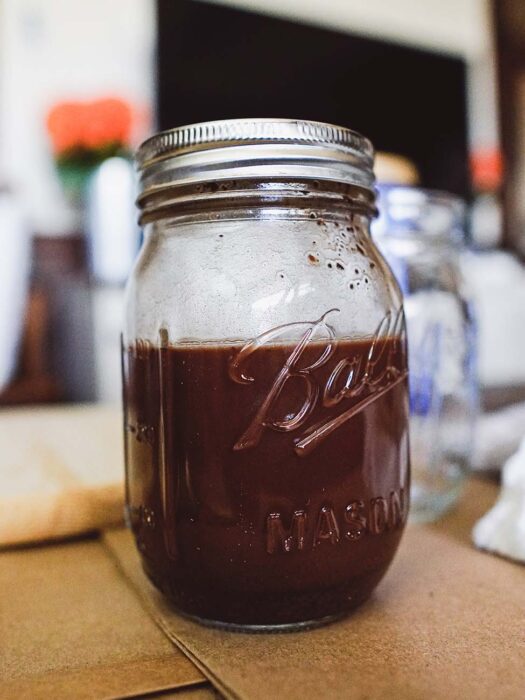
First, I boiled water and, while that was getting up to temperature, added 1 1/2 mounding spoonfuls of cocoa powder and 3 mounding spoonfuls of coffee into a mason jar. Then I poured the water into the jar, covered it, and let it sit for 2 hours. I shook the jar every so often to get the grounds and cocoa to mix.
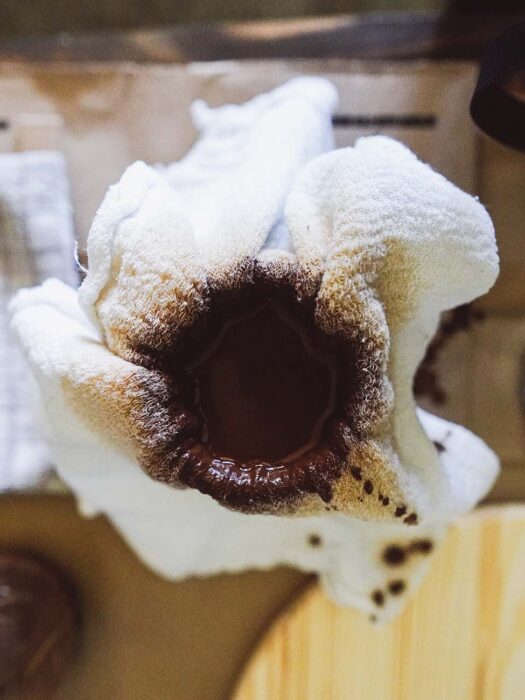
After the stain mixture sat long enough, I strained it. I put a folded cheesecloth over the top of another mason jar and poured the mixture through.
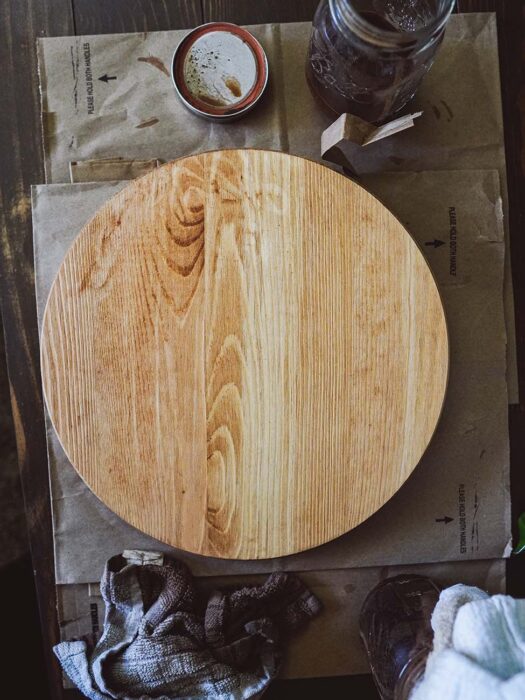
And now you’re ready to stain! Dip a rag into the stain mixture and stain your board. It’s not overly strong so it did take 6 coats for me. The good part is, you also don’t have to wear gloves because there are no harsh chemicals!
For an added bonus I’ll let you in on a little secret in this process. After the 6th coat (shown in the image above), I felt it was too heavy on the yellow undertones. To counterbalance it, I needed to find a food-safe stain that had purple hues.
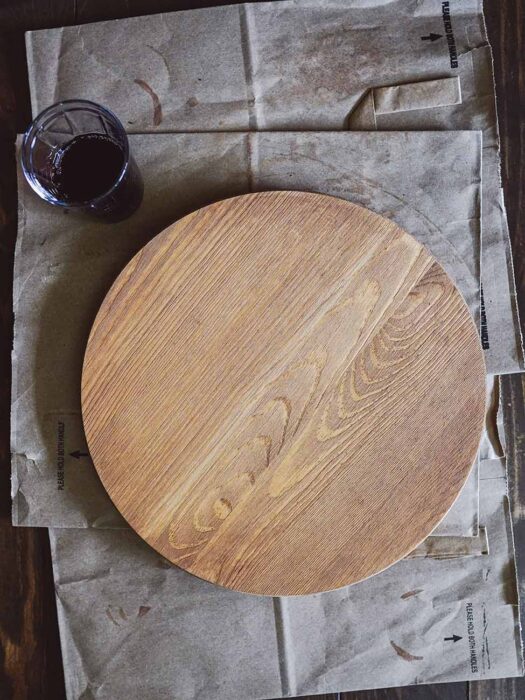
It needed to be purple because purple is the opposite color of yellow. Applying the opposite color will offset the stronger color, yellow. So, after recalling the purple lips I get from Carlo Rossi wine, I decided to add 2 coats of wine to it. The wine gave it a purplish-redish tint. Not exactly what I wanted, but better than before!

Get all digital downloads for a fraction of the price with this bundle deal!
Marble vinyl accents not only add a touch of elegance to your serving platter but also provide a durable and easy-to-clean surface that is perfect for entertaining. Before applying the vinyl, make sure the stain has completely dried to avoid any smudging or smearing.
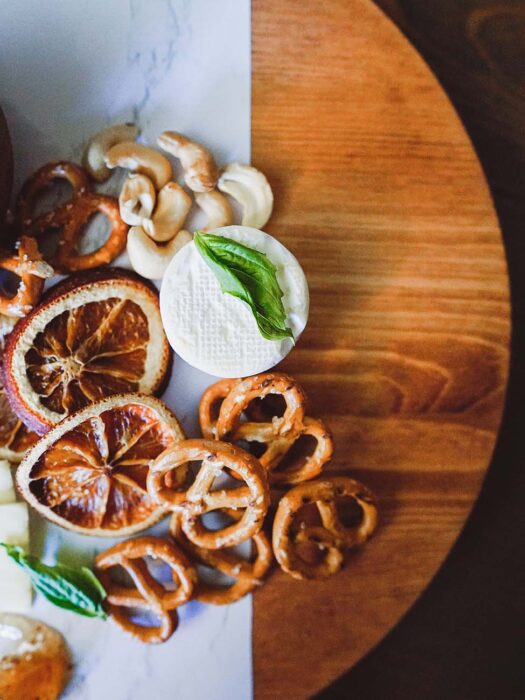
To create the marble effect, first, measure and cut the vinyl into the desired shape and size to fit your board. You can cover the entire surface or only have a strip down the middle like I did.
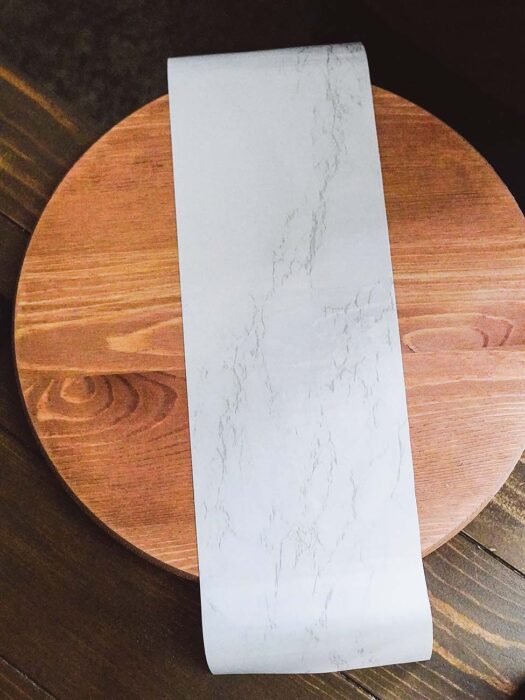
Once the vinyl is cut, carefully peel off the backing and position it onto the stained wood. Start from one edge and work your way across, smoothing out any bubbles or wrinkles as you go.
It’s recommended to use a credit card or a smoothing tool to ensure a clean and even application. Just don’t use anything sharp because it will scratch the edge.
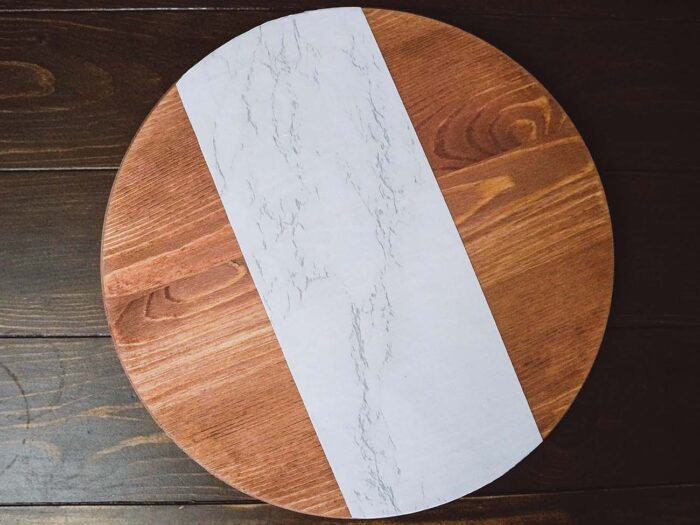
Now for the challenging part, cutting the edge. I used the edge of the board and ran scissors through the vinyl like cutting through wrapping paper.
As I mentioned above, I will eventually make a tutorial on how to make beeswax food save sealer from beeswax pellets and butcherblock oil. In the meantime, you can always get it on Amazon.
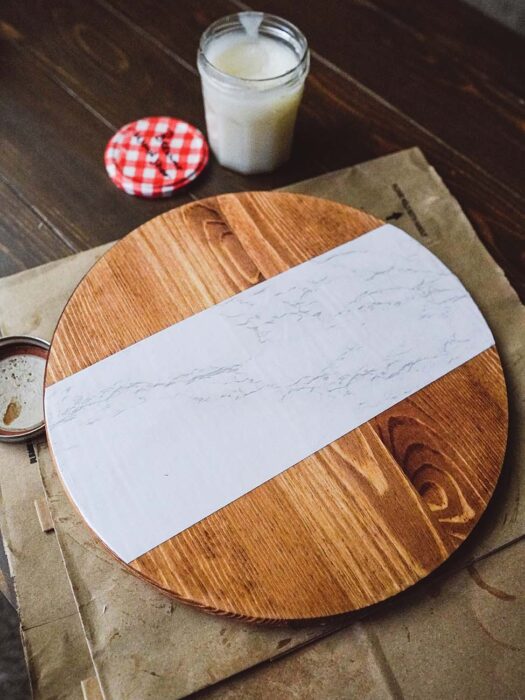
To begin the sealing process, ensure that your serving platter is clean and dry. Any dirt or residue on the surface can interfere with the beeswax’s ability to adhere properly.
Next, take a clean cloth or napkin, scrape the top of the sealer, and apply it to the board. The marble vinyl doesn’t need a ton as it doesn’t soak into the board like it does on the wood.
Once you have finished applying the beeswax, allow your serving platter to dry and cure for at least 24 hours. This curing time allows the beeswax to fully harden and bond with the wood. After 24 hours, gently buff the surface with a clean cloth to remove excess wax and reveal a smooth, lustrous finish. Just note that this sealer is water resistant, not waterproof. So you can wash it, just be sure to dry it right after to avoid any water sinking through the sealer.
By sealing your DIY charcuterie board with beeswax, you not only protect its natural beauty but ensure its durability and longevity. The beeswax acts as a barrier, shielding the wood from potential damage. Plus, it allows the board to handle water and oil from food or washing.
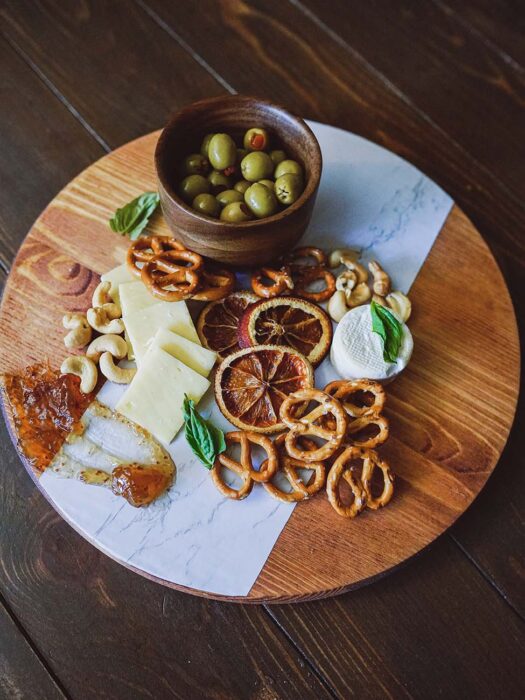
In this comprehensive guide, we’ve walked you through the essential steps and techniques for crafting a stunning DIY charcuterie board. So, get ready to impress your guests with your craftsmanship and attention to detail. Craft a charcuterie board that not only serves as a stunning platter but also becomes a conversation starter. Your gatherings will never be the same again!

Leave a Reply