Your cart is currently empty!


Hello! I am excited to share this DIY desk refurbished for the home office tutorial! I have had this desk for a while and desperately wanted to give it new life. So, what better way to do that than to refurbish it to match the style of my home office? So let’s get started!
This post may contain affiliate links, which means I’ll receive a small commission if you purchase through my links, at no extra cost to you. Please read full disclosure for more information.

Get all my favorite digital downloads today!
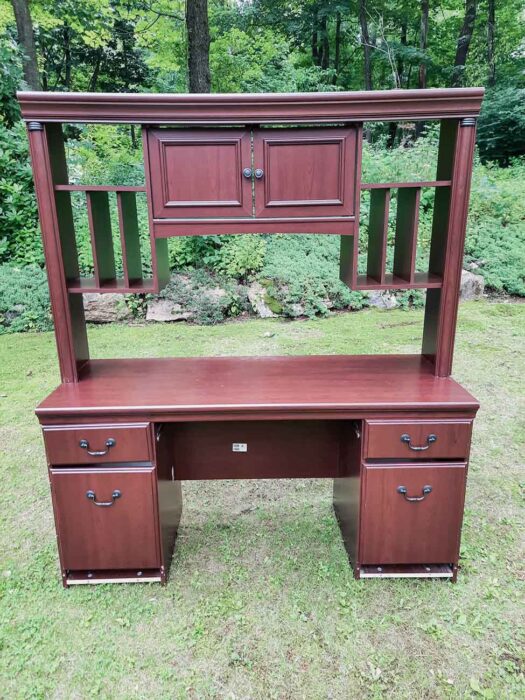
As I said before, I’ve had this desk for a while. I got it free from Facebook Marketplace and knew it would need some TLC. I finally found time to tackle this project, and am sharing what I did for those looking to refurbish their home office desk.
Okay, so one of the first things I did was take apart the whole desk. I didn’t completely take apart the top, because I knew I wouldn’t be using it, at least not for what it was built for.
So, I scraped the top piece for parts to add to the base of the desk. For example, the desk was missing some trim, and there was an open space between the drawer and the cabinet below.
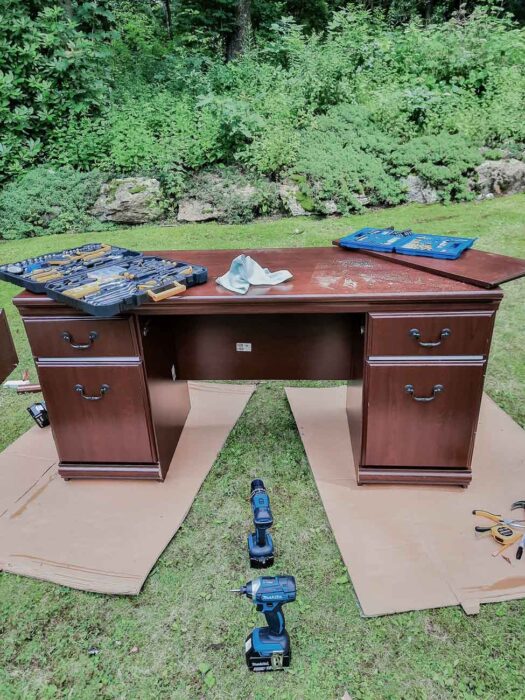
So, I took pieces, like trim from the top part of the desk, cut them to size, and attached them to where I felt necessary.
I always like to use what I have on hand to complete a project. But, I understand this might not apply to you because your desk is probably different. If that’s the case, get creative! Perhaps you can find free furniture for designated scrap wood to use on other projects!

Get all digital downloads for a fraction of the price with this bundle deal!
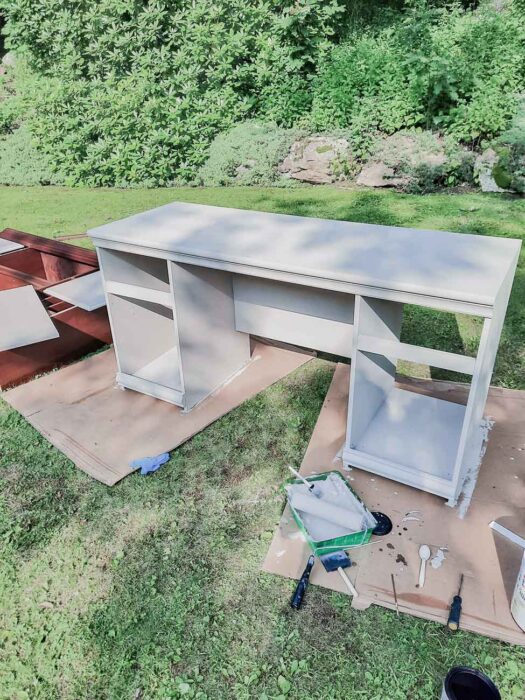
So my desk is made of particle board with a laminate covering. I still sanded the desk lightly, just so the paint would adhere better. If you also have a laminate desk, don’t go overboard on the sanding, as this will destroy the laminate finish. You want to sand just enough so the paint has something to adhere to.
Okay, so here is where I skipped a step, and I highly recommend that you don’t. And what I mean is I never put down a primer. Now, having had my desk completed and moved back into the office, it did chip slightly during the moving process. I wish I had put primer down as a base layer so the paint would have adhered better, but unfortunately, I skipped that step.
So don’t make the same mistake! Take the time and put the primer down first, and then paint the desk with the color of your choice!
As I said earlier, I’m a huge fan of using what I have to tackle a project. I had white matte outdoor paint that hadn’t been unused for a long time. I also had a water-based stain left over from a different project.
So, I mixed the two! Yes, I mixed paint and stain together, and I have to be honest, I’m in love with the color. If you decide to do this step, just make sure that the paint and stain are the same base, whether it’s water or oil.
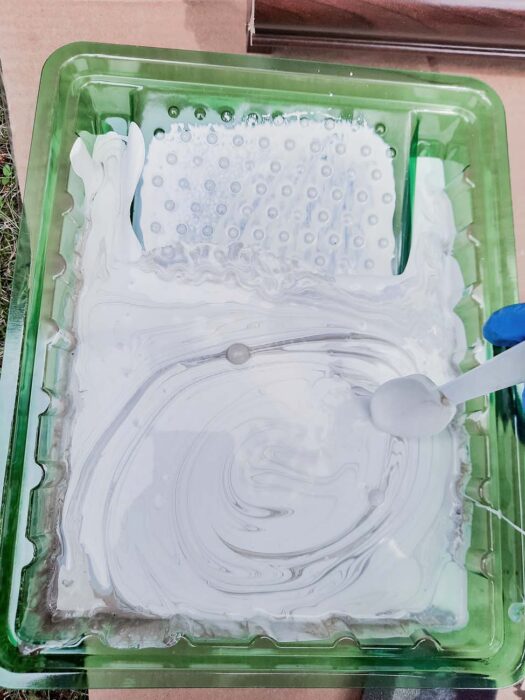
I also used a paint roller and sponge to paint the desk. I feel like I get a much smoother layer with a paint roller vs. a brush.
After 3 layers of paint, I added the final coating of polycrylic to give it a finishing protective coat. Again, I painted this with a paint roller so I wouldn’t have brush strokes.
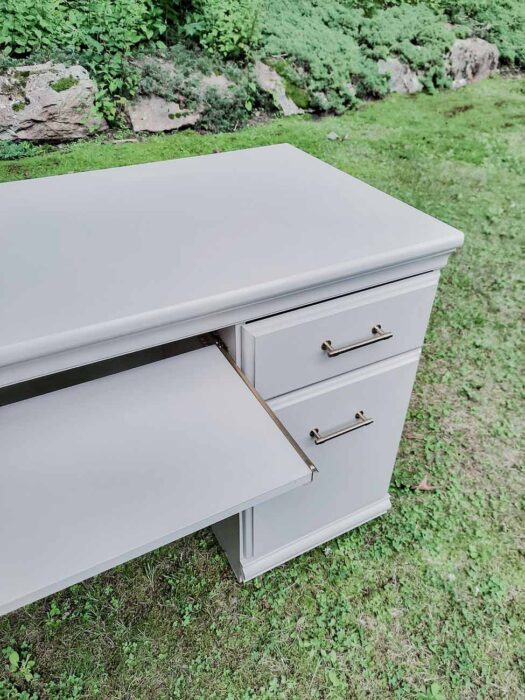
So I bought these gorgeous drawer handles (I’m seriously so happy with how they match the desk), and I wanted the metal hardware like the drawer slides to match the handles. So I spray-painted them gold, to give it a matching color.
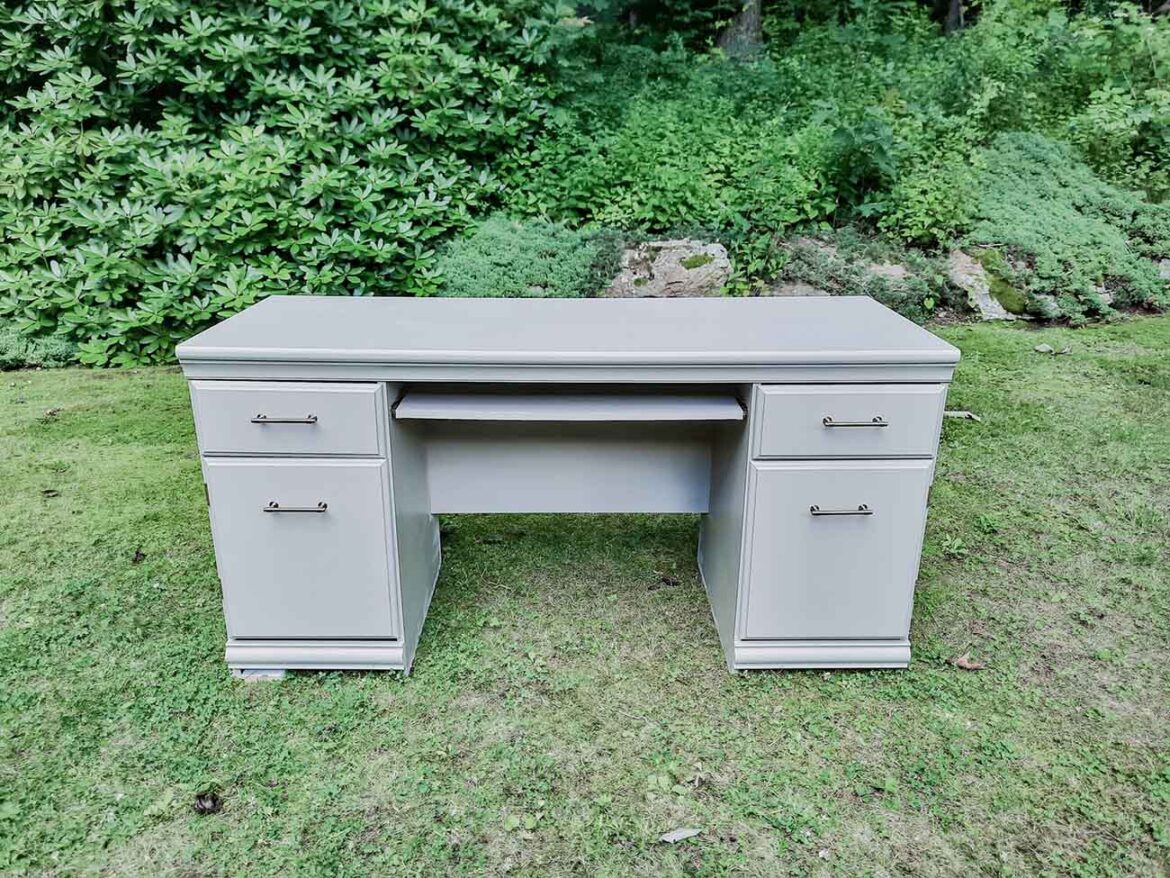
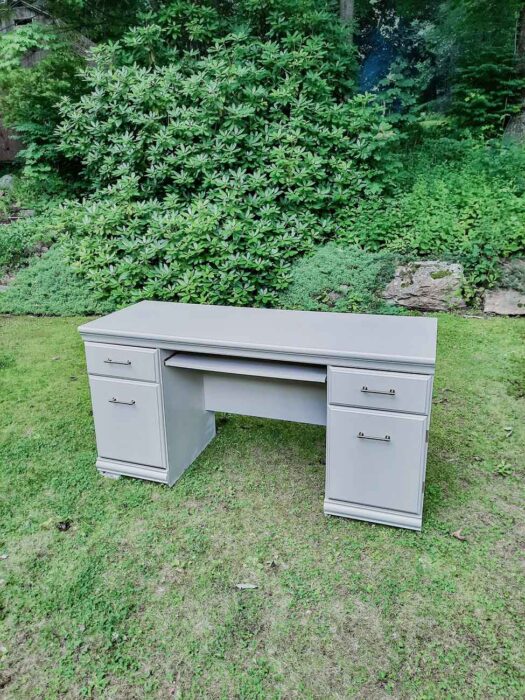
After everything is painted and has dried, you can assemble it! And voila, there you have it! A new and improved desk for your home office!
I hope you enjoyed reading this DIY desk refurbished for the home office tutorial! Comment below if you think this desk looks better than it did prior! Reach out if you have any questions!


Leave a Reply