Your cart is currently empty!


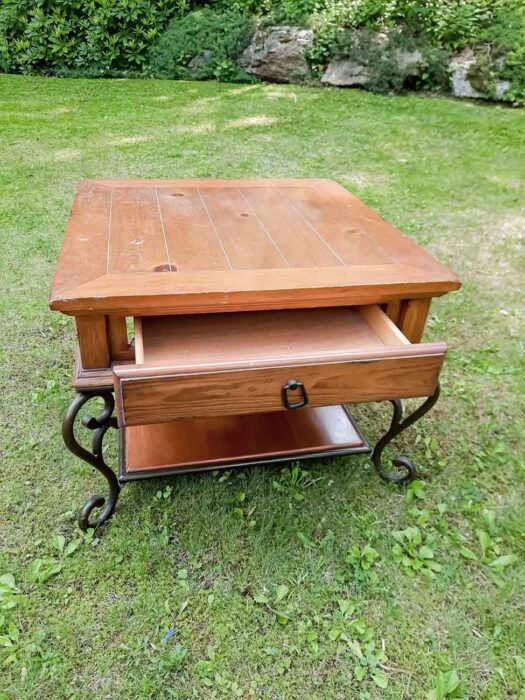
Hello! Are you looking for end table makeover ideas? Perhaps you just purchased a side table from Facebook Marketplace and want to refurbish it like I did my farmhouse DIY table makeover? Well, that’s great because you’re in the right place! So, let’s jump in!
This post may contain affiliate links, which means I’ll receive a small commission if you purchase through my links, at no extra cost to you. Please read the full disclosure for more information.

Get all my favorite digital downloads today!

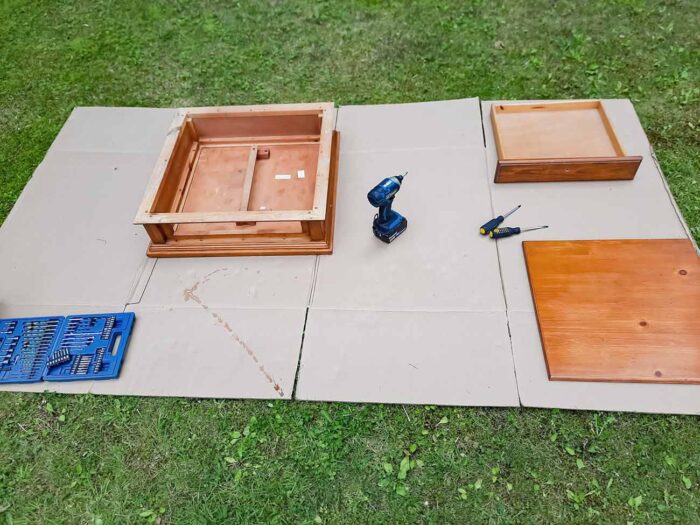
Before you start with the paint/stain stripper, sanding, or staining, you’ll want to clean your end table with a cloth and hot water. After it’s clean, you can disassemble the piece.
Next, you’ll want to apply the stain stripper. I considered Citristrip, but after doing a little research and watching a side-by-side comparison, Citristrip made the furniture blotchy, which was not the look I wanted.
I want to emphasize that this stain stripper is no joke. The instructions specify pouring some into a metal container and applying it to the furniture. I didn’t take the metal container part seriously. I figured a plastic cup would be sufficient because it said to use a plastic putty knife.
Well, to my surprise, the stain stripper started eating away at the plastic cup in a matter of seconds. The image below is a photo of a couple of minutes in. Keep in mind the stain stripper is supposed to be clear.
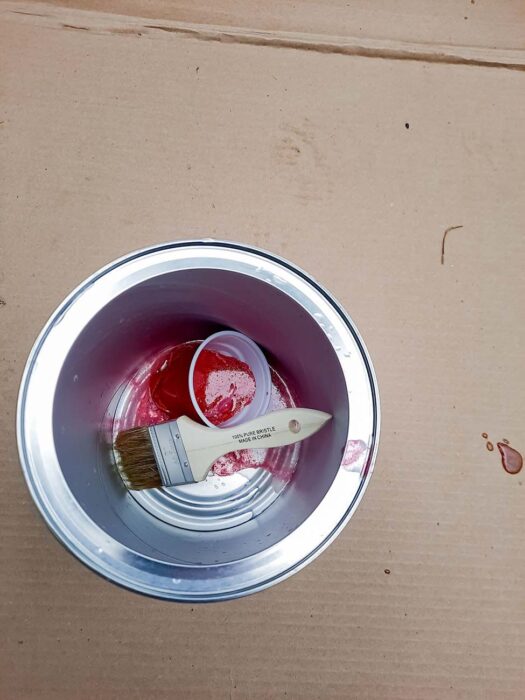
So don’t do what I did. If you pour the stripper into a separate container, make sure it’s metal. And wear gloves too!
Also, don’t be afraid of putting a thick layer on. I kept on reapplying because the layer I did was too thin. When I work on my coffee table for the next furniture piece, I’ll apply a thicker layer.

Get all digital downloads for a fraction of the price with this bundle deal!
The instructions specify using a plastic putty knife to scrape the stain stripper off. After what happened to the plastic cup, I decided to use a metal putty knife instead. Assuming that they specified plastic so the furniture wouldn’t scratch, I sanded the edges of the metal putty knife so that wouldn’t happen.
For the sides of the table, I used the coarse side of a sponge to remove the stain stripper. I dipped the sponge in mineral spirits and scrubbed the side of the table in a circular motion.

If you need to, you might have to apply another coat of the stain stripper. As I said before, I didn’t apply enough the first time, so I had to do another coat even after I scraped most of it off.
Once I removed the stain stripper, I wiped the whole piece down with mineral spirits.
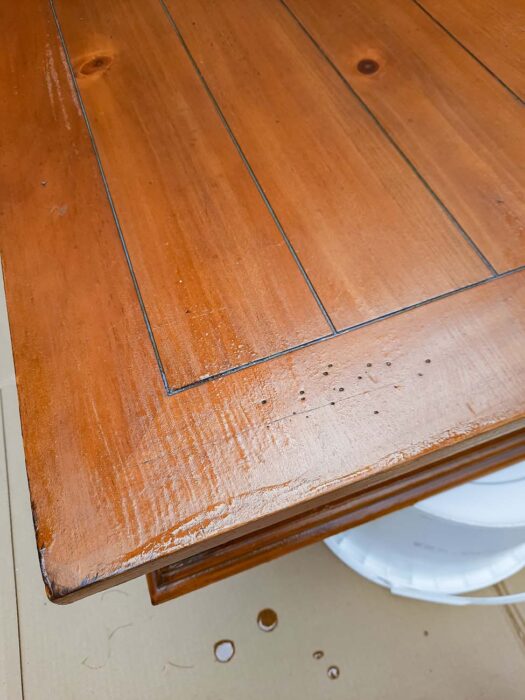
After the end table dried completely, I lightly sanded it to remove any leftover stain. This step is as needed, as there were some areas where the stain was deeply set into the end table.
I’m curious to see if my coffee table has a similar problem because they are a matching set, but I got both on Facebook Marketplace at different times from different people (I know, imagine that luck!)
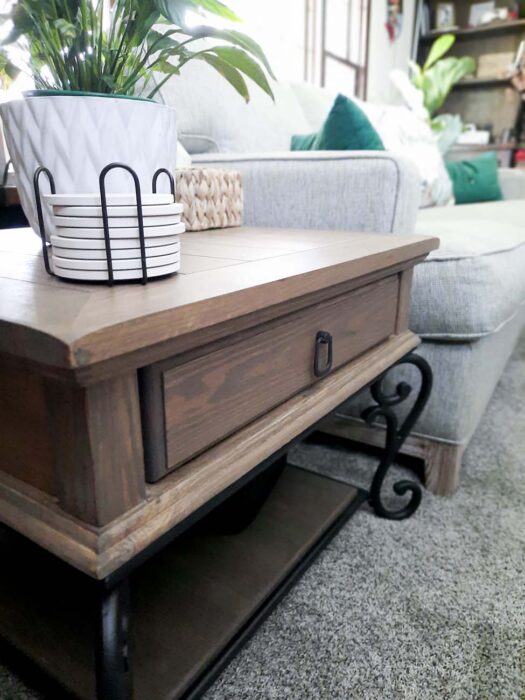
I love the farmhouse look and when I build my house, I want it to be that style. This end table will go into the living room, so I want to give it that farmhouse feel. I think the stains that have cooler undertones are what make it farmhouse-y.
My vision for this end table was a lighter brown with gray undertones. I experimented with the stains to get a feel for what I wanted. The image below shows the colors that I considered.
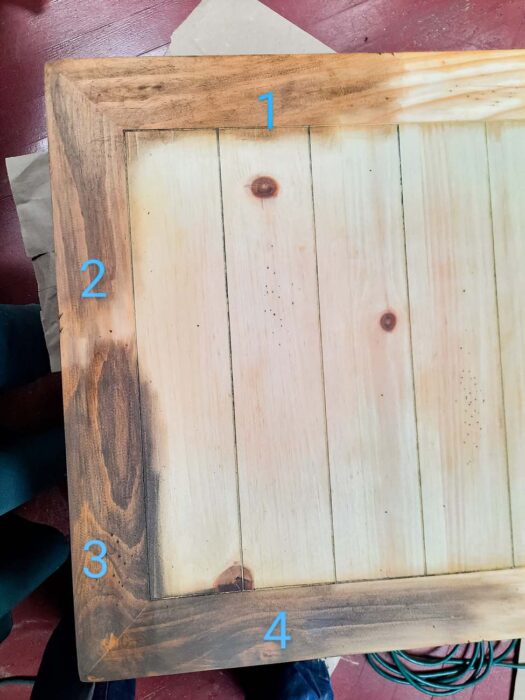
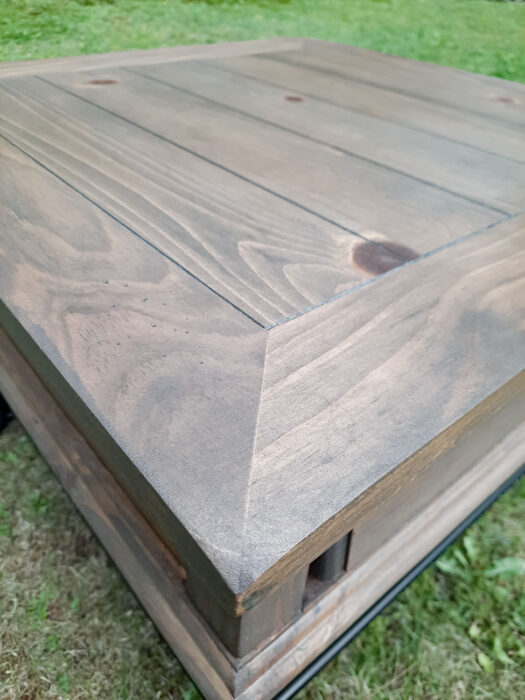
I ended up going with 2! Special Walnut as the base coat and Briarsmoke as the topcoat. After the stain completely dried, I added a protective coat to it.
I used this spray paint, and I must say, the nozzle is something to rave about! I will be using this brand again, no doubt.
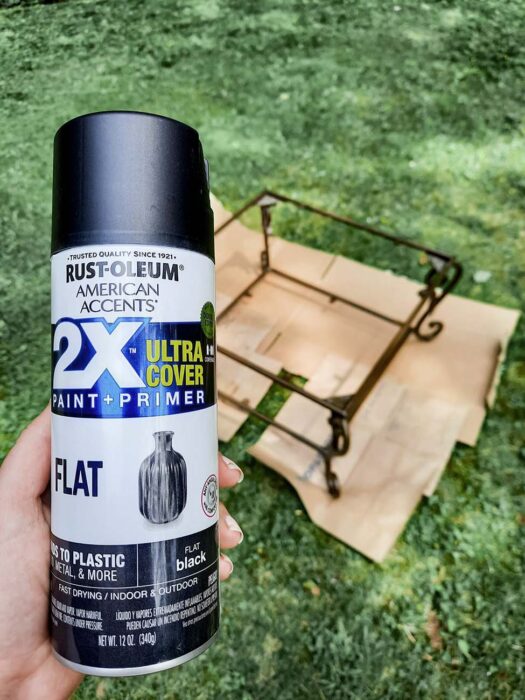
After I spray-painted the legs and hardware, I added a sealer to protect the bottom coat.
After everything has completely dried, you can assemble it!
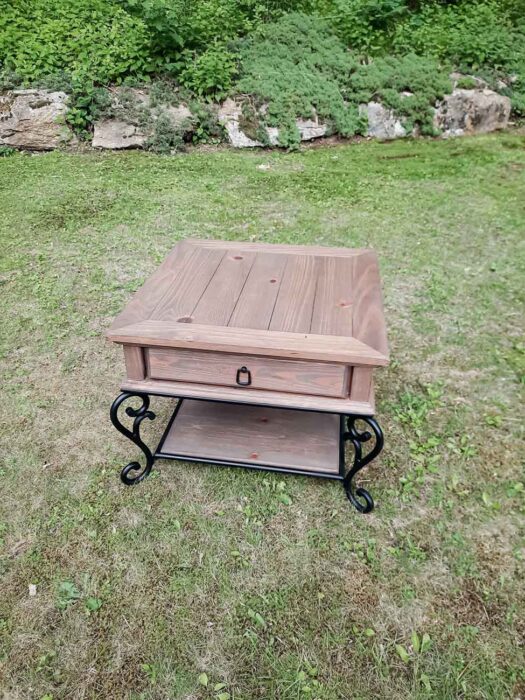
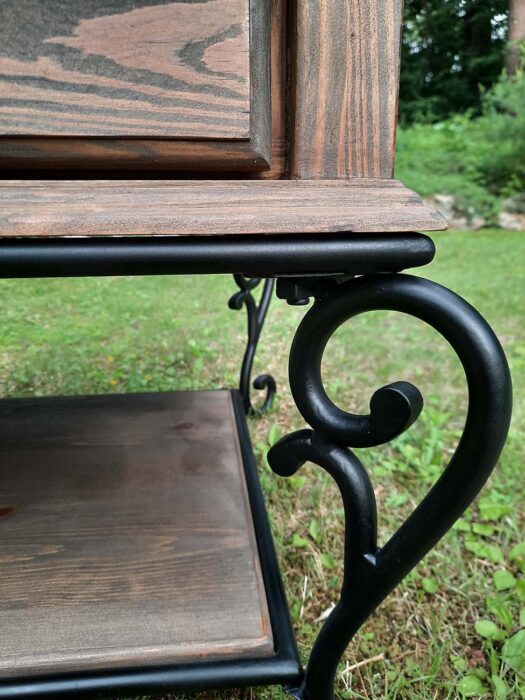
There you have it! My farmhouse DIY table makeover idea! I’ll link the coffee table here when I finish that new piece. Comment below if you have any farmhouse furniture recommendations, I’d love to hear them!


Leave a Reply