Your cart is currently empty!


Practical kitchen ideas can come in all sorts of ways! Whether you opt for more storage space or even organize your bulk items into smaller containers. This kitchen soap tray is on my personal list of practical kitchen items, but it wasn’t always! You see, what they don’t tell you when purchasing such a rustic modern cottage decor tray is that it’s not waterproof. But, where there’s a will, there’s a way, and Katie T’s Home is happy to share this waterproof hack with all of you! So what are you waiting for?!? Let’s jump in!
This post may contain affiliate links, which means I’ll receive a small commission if you purchase through my links, at no extra cost to you. Please read full disclosure for more information.
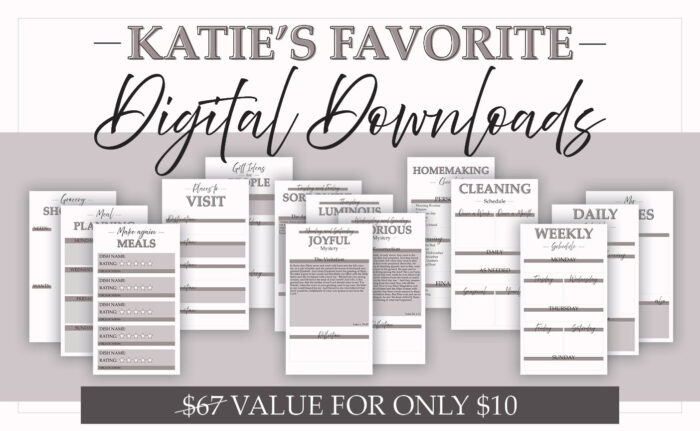
Get all my favorite digital downloads today!
Updated June 4th, 2024
I also ask that you please leave your thoughts in the comment section below. I’m always trying to produce helpful content for my readers, and without knowing what you think, it’s hard to know what you find helpful/not helpful. So please leave your thoughts below!! 🙂
Fun fact time! This is a new section I’m including on my blog posts so my readers can get to know me on a personal level!
So, for my 26th fun fact, I want to share some really exciting news!!! I just completed my online storefront!
This has certainly been a journey in its own right, and I’m so proud of how far I’ve come on this journey.
My creations reflect what it means to be a feminine homemaker, and I’m happy to promote this. At the end of the day, the work I do is to encourage young women to pursue their dreams of being stay-at-home moms or homemakers regardless of the judgments that the world puts on us.
So check out my digital downloads by clicking this link! I’d be forever grateful!!
One day I was eye-guzzling Instagram reels, and I kept seeing reels on wearing vs. styling different outfits. It occurred to me that home decor is not much different.
However, not all of the styling tips are practical. And I think this is where it is easy to get lost. Because with any promotion, you run the risk of feeling like every nook and cranny of your house has to be just so. This creates unrealistic expectations.
This is why I advocate making areas in your home look aesthetic while still being practical. I go into more detail on how I made a practical kitchen counter centerpiece look aesthetic in the article below.
For the sake of getting to the point for this post, I’ll share the obstacle I encountered last year.
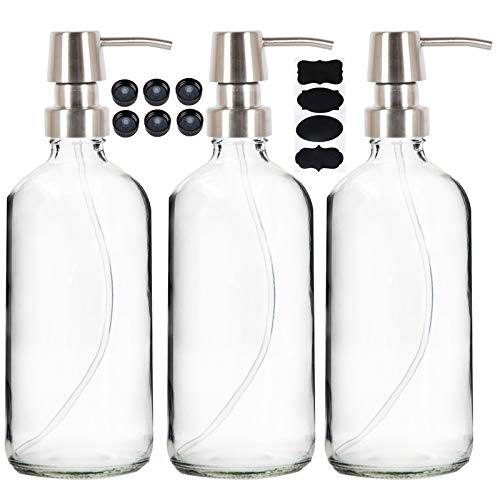
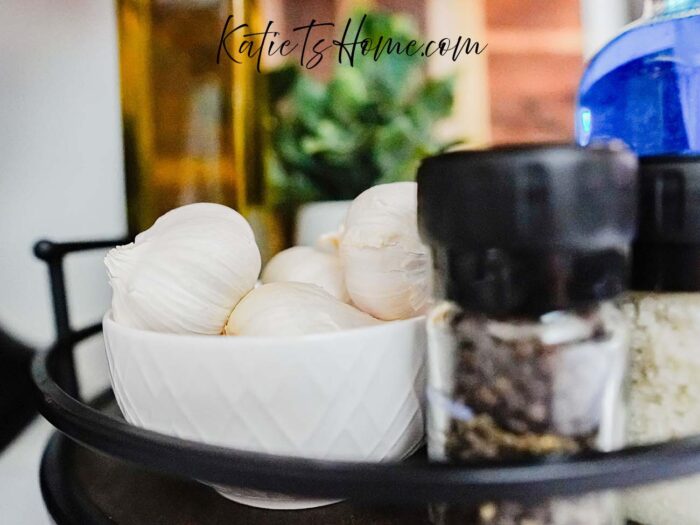
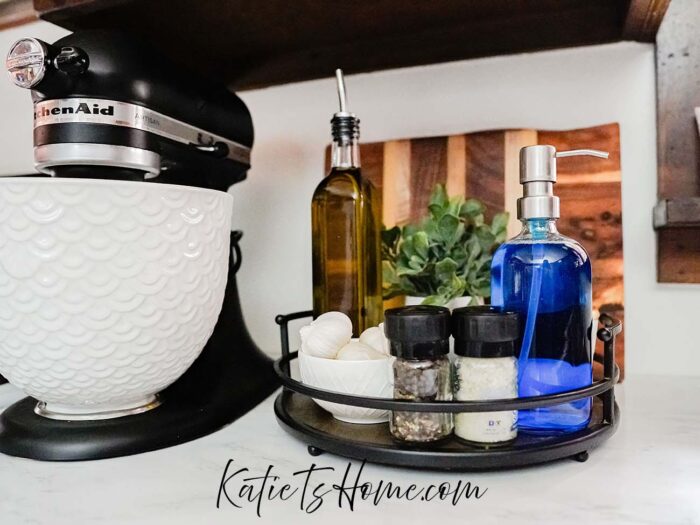
Last year I bought this kitchen soap tray to organize my kitchen essentials. I searched and scoured Amazon to find what I was envisioning for my kitchen.
When I found it, I made the impulse buy without giving it a second thought. When the package came in and I opened it, I knew right away that the wood was not water-resistant.
At that moment, I decided I would need to figure out a way to waterproof it. In the meantime, I decided I’d “be careful” and set it up anyway because I was excited to see it in my kitchen.
I told my husband my plan to waterproof it but, in the meantime, to be careful. That same night I discovered soap residue on the tray… I should have known. But to make it worse, I kept it as is and said we’d have to be mindful to take the soap dispenser out whenever we were washing the dishes.
Well, that didn’t work. The next day when I did dishes, I took the soap dispenser out, but because it was not far enough away from the tray, water still managed to splash and left even more water damage than the night prior. At that moment, I decided I needed to waterproof it ASAP before it got worse.

Get all digital downloads for a fraction of the price with this bundle deal!
Having experience with DIYs and crafting, I knew there were different products made for making wood water resistant. So, I dug out this polycrylic and got to work.
It will still be relatively shiny, and it will darken the wood, but considering mine is a year in and it’s still waterproof/resistant, I’d say it’s a worthy sacrifice.
You’ll also need painter’s tape, a sponge or brush to apply the polycrylic, and an exacto knife/ kitchen knife or painter’s spatula (which is what I used because the exacto knife can scratch).
Other practical kitchen ideas include finding a waterproof tray. I mean, it would make sense being so close to the sink. Or, perhaps an oil tray that is not as close to the sink.
But for this kitchen, there isn’t a ton of counter space, and I was already invested in the style of this modern cottage tray. So I got to work.
You’ll want to start by taping the metal frame. You don’t need to tape it perfectly around the circular edge, just completely cover the metal part. Then go back with the knife or painter’s spatula and cut the excess tape off. You can use the metal as a guide to get a clean edge.
Apply the Polycrylic as directed. I painted the first coat and waited 2 hours before applying the second one. I debated doing a third coat, but I tested the wood after the second coat. The water did not soak through, so that was my way of knowing that 2 coats were sufficient.
In summary, to achieve the balance between a practical and a stylish kitchen, you’ll need to consider what issues you are facing and the workaround needed to solve those issues.
So the question becomes, what issues are you facing in your kitchen? You may want an area to look aesthetically interesting, but for one reason or another, it’s not possible. Type your struggles in the comments below! I’d love to bounce different ideas to help your situation 🙂
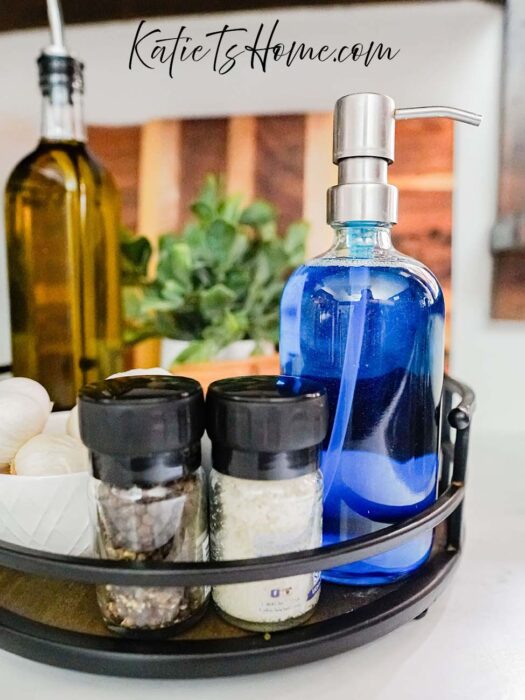
Now that you have applied Polycrylic for a durable finish to your modern cottage soap tray, you can sit back and admire your handiwork in the kitchen.
The sleek look of the protective coating will enhance the overall experience of your DIY creation, adding a touch of elegance to your space. These practical kitchen ideas are about finding a visually appealing balance while serving its purpose for years to come!

[…] Now you know how to organize your spices with the free spice jar Cricut labels! Please comment below with your thoughts! Feel free to contact me if you have any questions! For other kitchen DIY ideas, read: How to Waterproof your Kitchen Oil Tray. […]
[…] so convenient, and it looks good too! I have a tutorial on how to waterproof your kitchen soap tray here. Even without waterproofing it, this piece is a MUST in your […]
Leave a Reply