Your cart is currently empty!


Are you looking to tackle a new wood project for your farmhouse workshop or garage without the added price tag? Are you yearning for the perfect custom wooden sign to add a touch of charm to your barn? Your search ends here! This beginner’s guide will uncover the secrets of creating a DIY wooden sign that will elevate your workshop to the next level without the outrageous cost of buying a custom wooden sign!
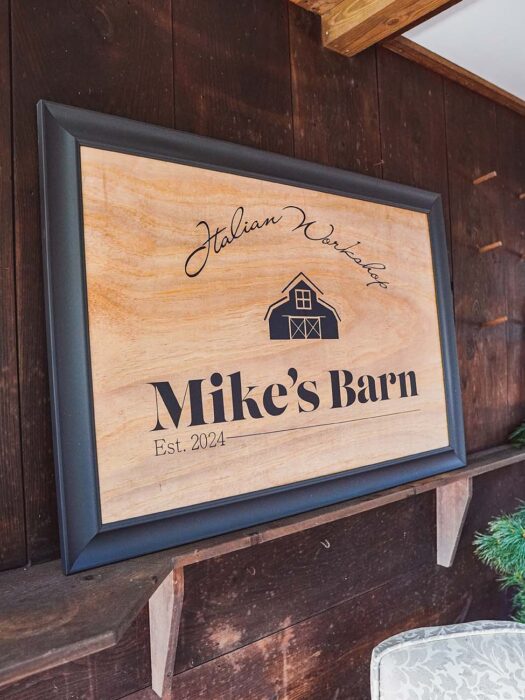
So, are you ready to get started on this woodworking adventure? Let your creativity run wild, find enjoyment in the process, and make it your own. Once you’ve completed the steps below, display your masterpiece in your farmhouse workshop and enjoy the rustic charm it exudes. So, without further ado, let’s get started!
This post may contain affiliate links, which means I’ll receive a small commission if you purchase through my links, at no extra cost to you. Please read the full disclosure for more information.

Get all my favorite digital downloads today!
Before I jump into this DIY wooden sign project tutorial, I want to mention a fun fact about myself! This is a new section I’m including on my blog posts so my readers can get to know me on a personal level! So far, this is the third one I’ve done, so I’d love to hear your thoughts in the comment section below!
Contrary to other people in this area, I actually love the winter! I love the snow and how pretty it looks on the trees. I also look forward to the colder weather so I can go ice skating on a pond near my parent’s house!
Before we dive into designing your wooden sign, let’s first talk about the importance of choosing the right materials. Just as a chef selects the finest ingredients to create a mouthwatering dish, you too should carefully consider the wood and tools you’ll use to bring your vision to life.
When selecting the wood for your sign, there are a few factors to keep in mind. First, consider the desired aesthetic of the sign. Do you want a frame around the edges of the sign, similar to my project? If so, you’ll need to find a thin sheet of plywood.

Because the frame can only hold so much weight, you’ll want to find the thinnest sheet of plywood possible. I found this 6×6′ sheet at Home Depot.
Once you’ve selected the perfect wood and frame, it’s time to consider the tools you’ll need for the job. To start, you’ll need a circular saw to cut the sheet of plywood to your desired dimension.
Note: below I have details to make this step super simple, so be sure to check out the last section.
Depending on your design, you may also require custom vinyl, a router for creating intricate details, or even a woodburning tool.
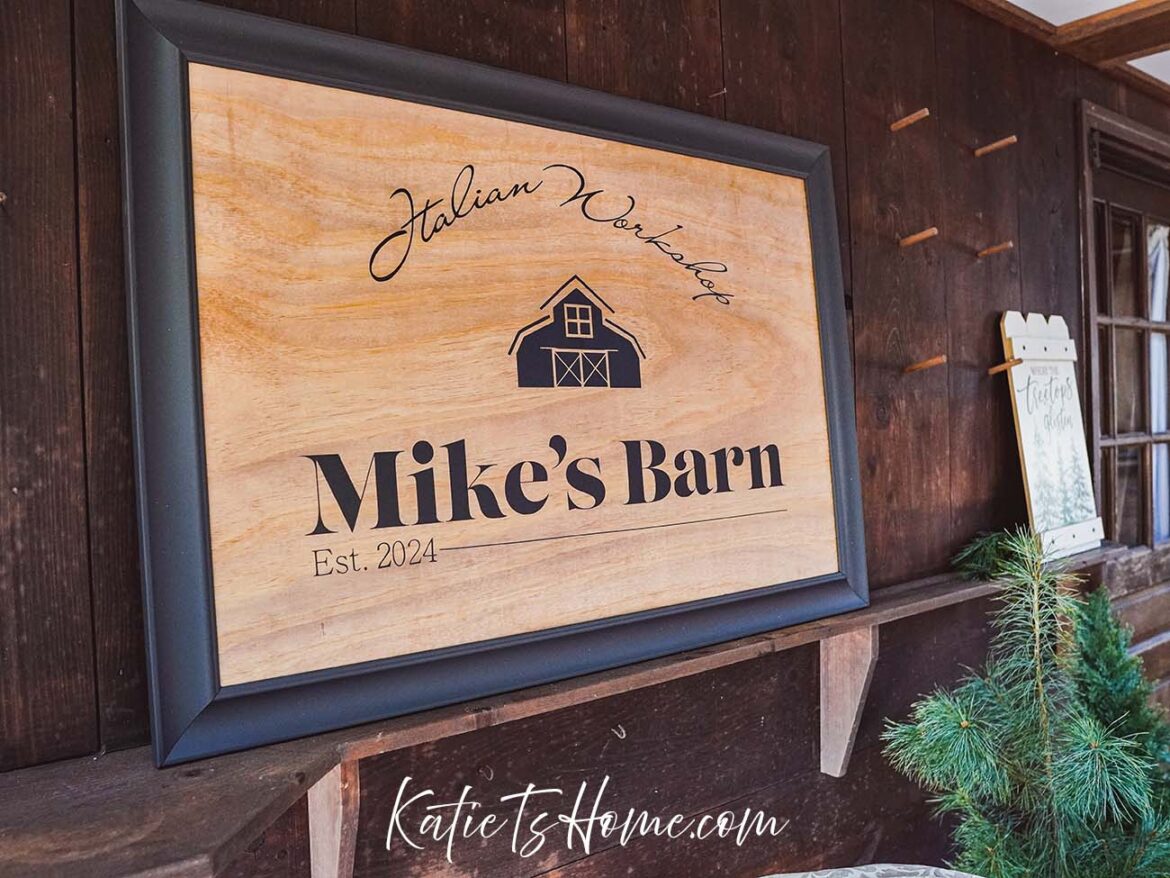
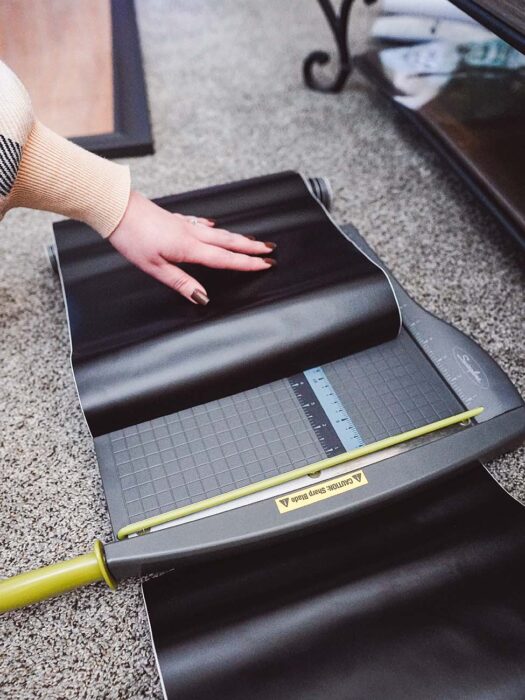
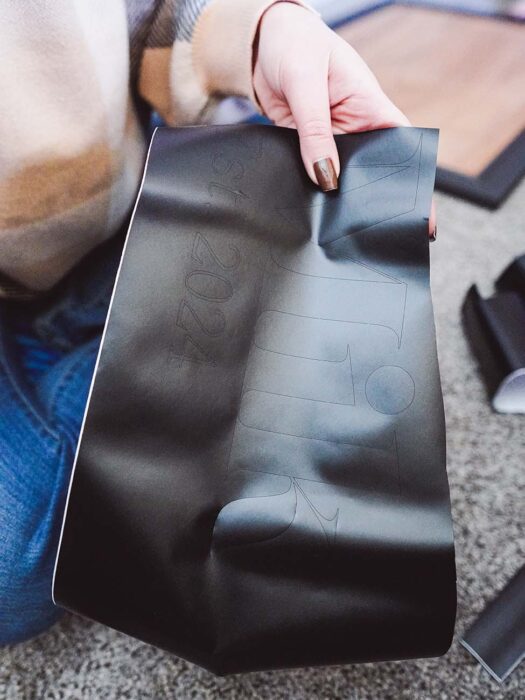
Because I have a Cricut, (more info on what a Cricut is here), I went with the custom vinyl route. This machine allowed me to design and cut out the barn and text for the custom wooden sign.
You’ll also need stain or spray paint, which I go into more detail on my methods below.
Before diving into the design process, take a moment to consider the purpose and theme of your sign. What message do you want it to convey? Is there a specific style or aesthetic you’re aiming for?

When it comes to designing your wooden sign, simplicity often wins. Think about using clean lines, easy-to-read fonts, and a logical layout. Remember, your primary goal is to communicate the message clearly and effectively. Fancy and intricate designs might look appealing, but they could also make your sign harder to read from a distance.
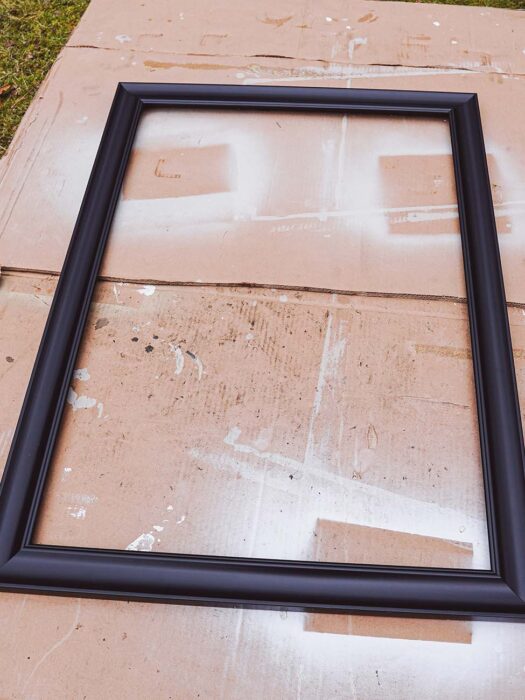
First, I started with the frame. I wasn’t in love with the glossy finish, so I spray-painted it with black matte spray paint.
Then, after I cut the plywood to fit the frame, I stained it. I had a vision in mind for what I wanted the wooden sign to look like. The stain color was one of the aspects I was particular about.
I wanted orange undertones without it being that ugly orange stain. You know, the stain that a lot of old furniture pieces have. So, I decided to experiment.
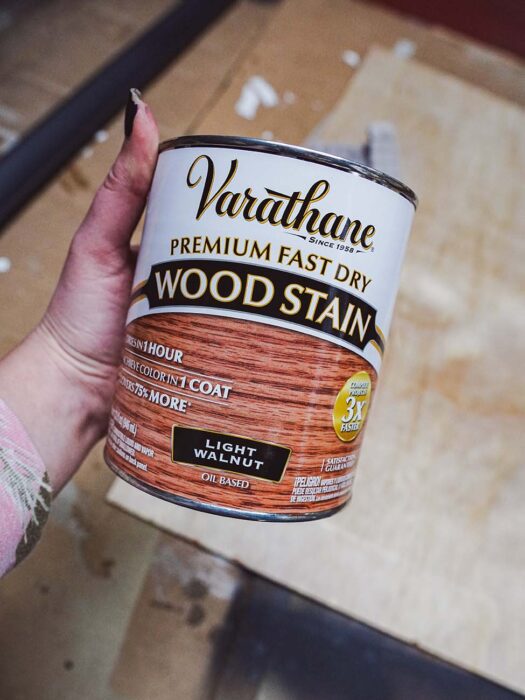
I mixed light walnut stain, walnut gel stain, and mineral spirits to thin it out. The consistency was, unsurprisingly clumpy from the gel stain, but I was okay with that. I didn’t mind variations in the undertone. In fact, I was hoping for a slight variation.
After mixing the stain and testing it on a separate scrap piece of wood, I finally achieved the desired shade and stained the sheet of plywood.
If you plan on following these steps, a couple of things to note. First, don’t be afraid to experiment. I have more information on color theory and how to use this knowledge to influence your stain here. Also, I have more information on gel stain here.

Get all digital downloads for a fraction of the price with this bundle deal!
Adding personalized details to your wooden sign allows you to put your stamp on the finished product. Whether you’re creating a sign for your workshop or as a gift for someone else, these personal touches will make it truly special.
This adds a beautiful and unique touch that showcases your style. If you don’t feel confident in your handwriting skills, you can use custom stencils or decals to add personalized text or designs.
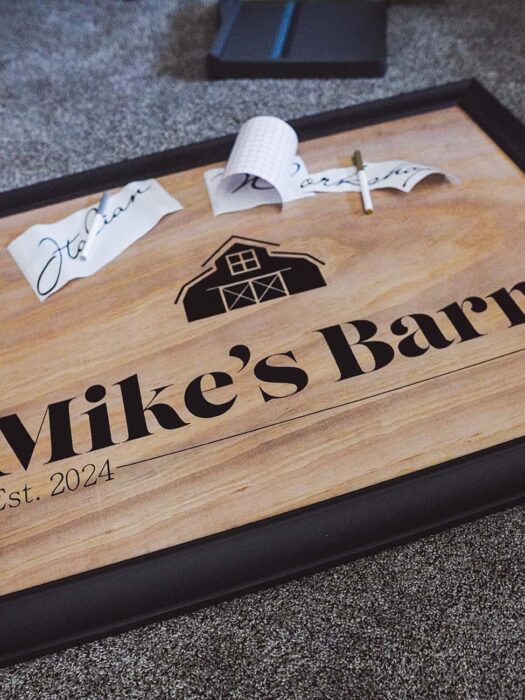
Another option for adding personalized details is to include meaningful symbols or words that hold significance to you or the workshop. It could be a logo, a favorite quote, or a reference to heritage (like what I did by saying “Italian workshop”).
By putting thought into the personalized details of your wooden sign, you’re ensuring that it becomes a meaningful piece that represents you or the person you are making it for.
These elements will make it stand out from generic signs and show the care and attention to detail that went into its creation.
Now that you know how to create a custom DIY wooden sign for the workshop, it’s time to review a few tips and tricks.
1. Hanging the wooden sign. Before you jump into creating your sign, make sure you have a plan for attaching the proper wire to hang it. Because the sheet of plywood is so thin, I didn’t want to risk screwing a hole into it, so I took a thicker scrap piece of wood and used wood glue to adhere it to the back. From there, I attached the wire hanging kit as instructed.
2. Cutting the plywood to dimension: If you’re prepared and want to make life easier on yourself, bring the exact dimensions to Home Depot, and they can cut the board for you. I had them cut it so it would fit in my car, but I didn’t have the exact dimensions. This resulted in having to cut it when I got home. Make life easier on yourself, and be prepared!
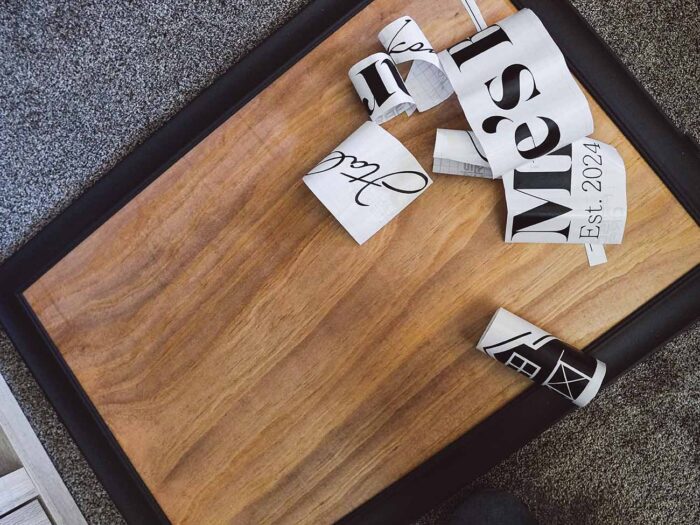
3. Vinyl decal tips. If you add vinyl decals like I did (whether you cut it yourself or purchase custom ones from Etsy), make sure the surface is flat. If there are any indents in the wood, the vinyl will not adhere properly.
4. Have fun with the project!
In conclusion, this beginner’s guide has equipped you with the knowledge and tools to create a custom DIY wooden sign that adds a touch of rustic charm to your farmhouse workshop or barn. By choosing the right materials, designing your sign, adding personalized details, and following tips for professional results, you are now ready to unleash your creativity and start your woodworking project!


Leave a Reply