Your cart is currently empty!


Have you ever wanted to stain a new piece of furniture to match the stain of a preexisting piece but didn’t know how to find the right stain color? Well, you’re in luck! In this article, I discuss what you need to know about mixing stain to match it to the desired color. From color theory to finished product, this wood stain color matching made easy guide will help you unlock the secret behind blending the right colors!
This post may contain affiliate links, which means I’ll receive a small commission if you purchase through my links, at no extra cost to you. Please read full disclosure for more information.

Get all my favorite digital downloads today!
To truly master the art of wood stain color matching, it’s essential to have a firm grasp of color theory. By understanding how different colors interact and influence one another, you can create harmonious blends that breathe life into your woodworking projects.
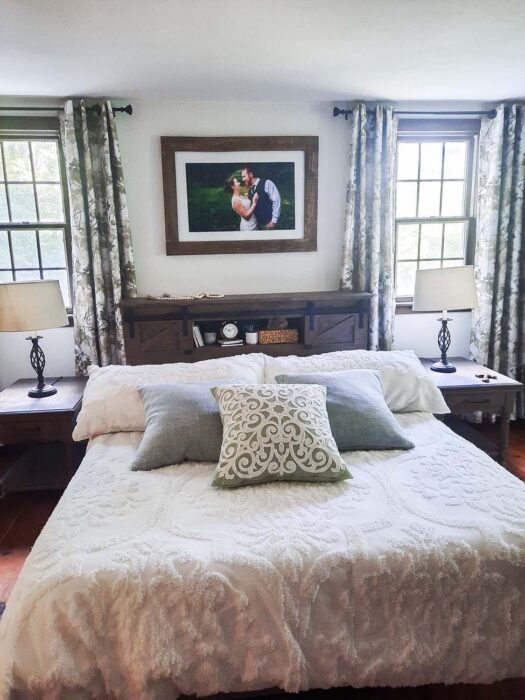
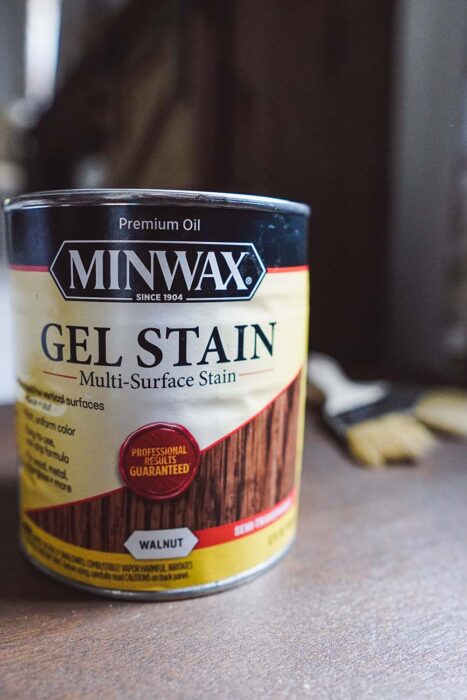
So, to elaborate, I used the knowledge of color theory to match the color of my nightstands to the color of my bed frame. Keep in mind, that I used completely separate paints and stains for both of them. For the bed frame, I mixed walnut gel stain with yellow acrylic paint. And I added briarsmoke to a preexisting coat of aged wood accelerator on the nightstands.
At its core, color theory explores the relationships between colors on the color wheel. This invaluable tool categorizes colors into primary (red, blue, and yellow), secondary (created by mixing primary colors), and tertiary (mixtures of primary and secondary colors) hues. By familiarizing yourself with this basic framework, you can begin to understand how hues combine and interact to create unique shades.
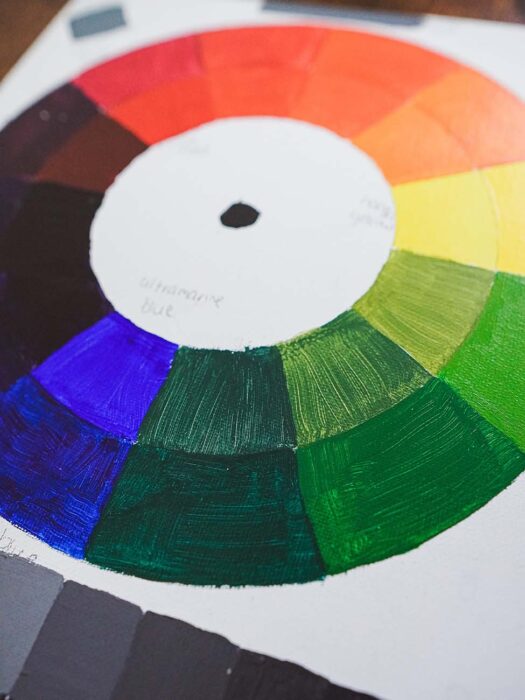
One of the fundamental concepts in color theory is the idea of complementary colors. These colors sit opposite each other on the color wheel and create a striking contrast when paired together. For example, red and green or blue and orange are complementary pairs.
Understanding how complementary colors affect wood stain color is key. This is because when complementary colors mix, they create a shade of brown.
This is why kids who mix lots of paints or dyes for their craft projects end up with a brown color. For example, they mixed red, yellow, and blue. Yellow and blue mix together and create green, the complementary color of red. So when those two mix, they form brown.
Another key aspect to consider is the ratio of the colors. So, building off of the example above, if the kid mixed equal parts red, yellow, and blue (the primary colors), then the outcome wouldn’t be brown but rather black. This is a lot harder to do, but when considering shades for staining, you must keep this in mind.

Get all digital downloads for a fraction of the price with this bundle deal!
So, what do complementary colors have to do with blending stains to match a preexisting color? Everything. Because odds are, unless you know the exact color used on the preexisting furniture, you’ll have to mix some stain to get it close.
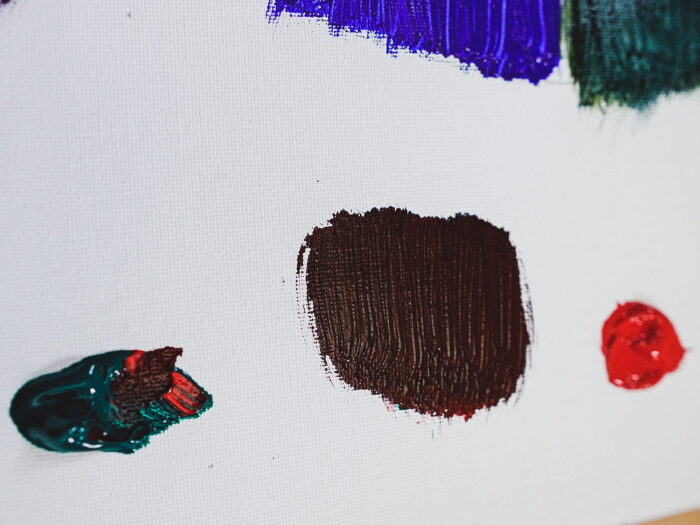
The complementary colors come into play because this knowledge will help you determine what colors to mix. Take, for example, this DIY coffee station project I did earlier this year.
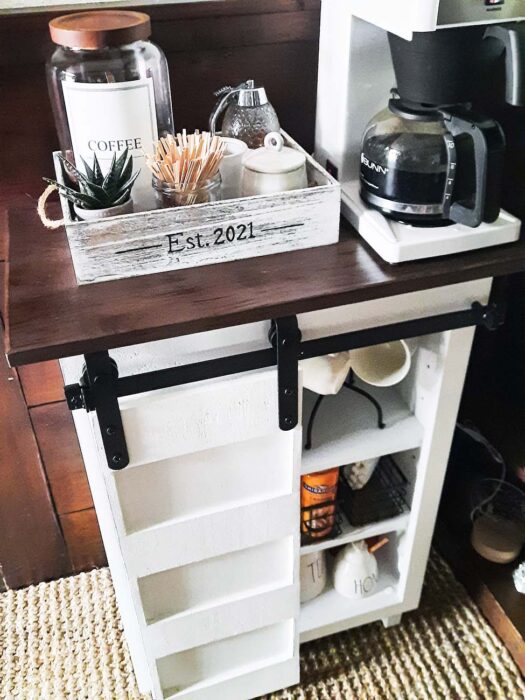
I used gel stain on the top of the furniture piece and did not care for the purple undertones. Now, the complementary color of purple is yellow, so I decided to experiment and mix yellow acrylic paint with the stain.
Did I get the desired color? Yes! The yellow offset the purple undertones because it was the complementary color. Now, I would not mix acrylic paint with regular stain. The only reason I decided to experiment with the gel stain is because of the nature of how gel stain works. You can find more information here on the benefits of gel stain over traditional stain and how to use it.
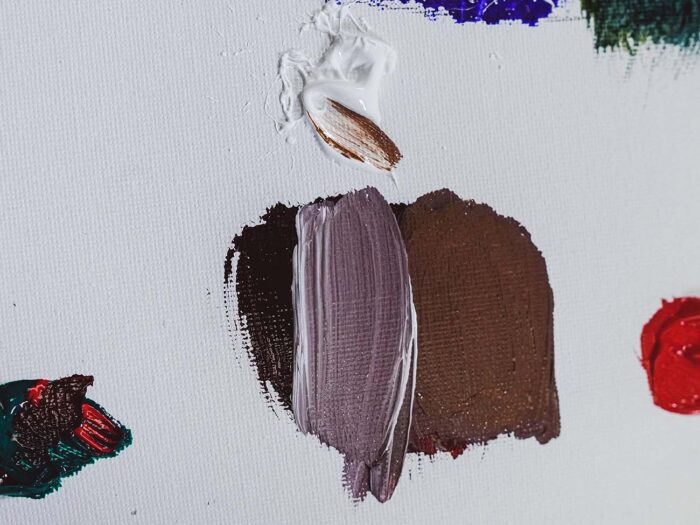
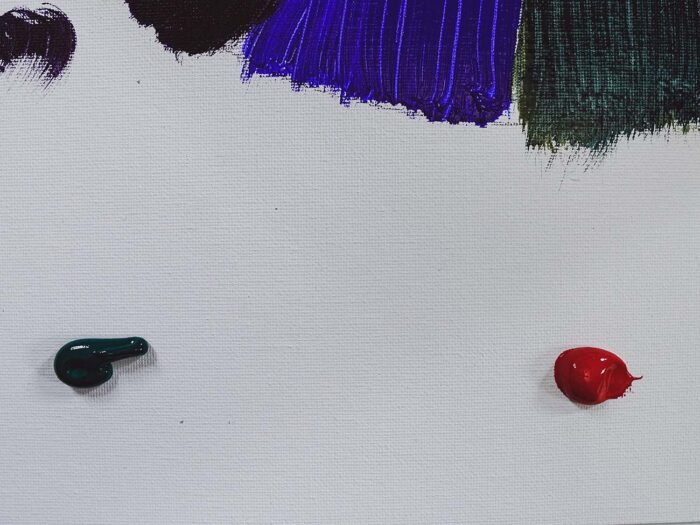
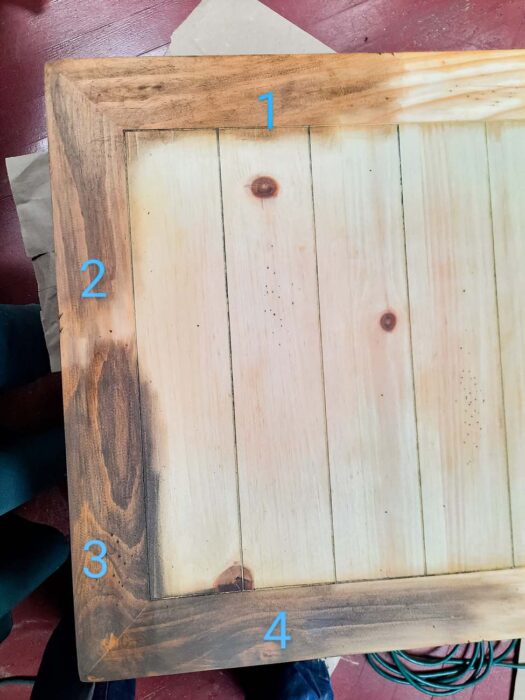
But this concept still applies. Let’s say you found a stain close to a preexisting color, but the purple undertone is slightly too strong (shown in the example above when I mixed white with the brown stain). If you mix a stain with yellow undertones, it will balance out the purple (the brown to the right of the purplish undertoned brown).
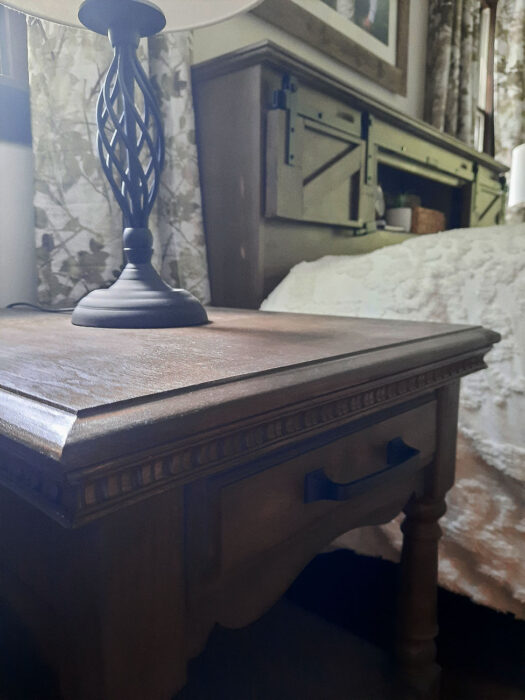
You may also need to experiment with shades and how much of each ratio, but that varies depending on your unique circumstances. So in the example of the nightstands above, this was the original color:
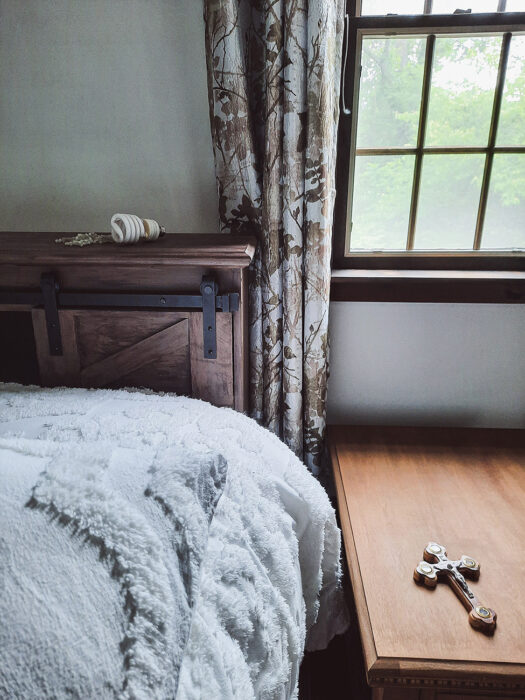
After I DIYed my farmhouse bed frame, I decided I wanted my nightstands to match. After having experience with the briarsmoke stain and knowing it has a gray-purplish tint, I decided to test it out and it couldn’t be more spot on!
Immersing ourselves in the principles of color theory opens up a vast array of possibilities in wood stain color matching. With this knowledge, we gain the confidence to select the perfect stains that not only complement each other but also bring out the best in the wood.
Blending stain colors allows us to create unique and custom shades that perfectly suit our preferences and the project at hand. Whether we want to achieve a warm, honey-like tone or a rich, mahogany hue, blending stain colors gives us the freedom to experiment and create our desired look.
To begin the process of blending stain colors, we can start by selecting a primary stain color as our base. This color will serve as the foundation for our blend. From there, we can add small amounts of other stain colors to the base, testing the mixture on a piece of scrap wood to determine the desired outcome.
Just note that the type of scrap wood will influence the shade. So you can always test directly on the furniture as I did for this project and sand it off after. Or you can apply the stain in a hidden area, like the bottom of the furniture.
I also want to point out that the types of stains will determine the stains you can mix with. You should only mix oil-based stains with other oil-based stains. The same rule applies to water-based stains as well.
The key to successful blending is to start with small increments and gradually build up the intensity of the added colors. This gradual approach allows for greater control and precision in achieving the desired shade. Remember, it’s always easier to add more color than to remove it, so take your time and experiment until you find the perfect blend.
Once you achieve the desired stain color, you can apply the blended stain to your project.
1. Prepare the Wood Surface: Before applying any stain, it’s crucial to prepare the wood surface properly. Start by sanding the wood to remove any imperfections or previous finishes. This will help the stain adhere evenly and create a uniform look. Ensure that the wood is clean and free from dust or debris, as these can affect the final result.

2. Use the Right Tools: To achieve a professional-looking finish, it’s essential to use the right tools for applying the stain. Consider using a high-quality brush, foam applicator, or cloth, depending on the type of stain and desired finish.
3. Apply in the Right Conditions: The environment in which you apply the stain can significantly impact the final result. Ideally, choose a well-ventilated area with moderate temperature and low humidity. Avoid applying the stain in direct sunlight or extreme weather conditions, as these can affect how the stain dries and adheres to the wood.
4. Follow the Directions: Different stains may have specific instructions or recommended application techniques. Read the manufacturer’s guidelines carefully before starting and follow them accordingly. Some stains may require multiple coats, while others might need to be wiped off within a certain timeframe. By following the instructions, you can achieve the best outcomes with your blended stain.
Mastering the art of wood stain color matching is a skill that can take your woodworking projects to the next level. Throughout this comprehensive tutorial, we delved into the world of color theory, guided you in choosing the right stains, taught you the secrets of blending colors, and demonstrated how to apply stains like a pro. By following these techniques and tips, you now have the power to confidently create flawless finishes that will leave everyone impressed.

Leave a Reply