Your cart is currently empty!


Are you tired of staring at your worn-out furniture? Are you dreaming of giving it a fresh new look? Look no further. This article will review how to transform furniture with gel stain. In the process, I will unveil the secret to achieving a professional finish. Whether you’re a seasoned DIY enthusiast or a beginner, gel stain offers endless possibilities for reviving tired pieces and turning them into beautifully restored treasures.
But what exactly is gel stain, and how does it work? I’ll delve into that in the first section. Then, guide you through the essential steps of preparing your furniture, from sanding to cleaning and repairing. Once your piece is ready, I’ll provide simple step-by-step instructions for applying gel stain like a pro. But why stop there? We’ll also explore the creative options of mixing gel stain with paint, allowing you to unlock even more possibilities.
And for those looking to take their furniture transformation to the next level, I’ll share additional finishes and techniques to enhance the final look. So, what are you waiting for? Get ready to bring new life to your old furniture!
This post may contain affiliate links, which means I’ll receive a small commission if you purchase through my links, at no extra cost to you. Please read the full disclosure for more information.

Get all my favorite digital downloads today!
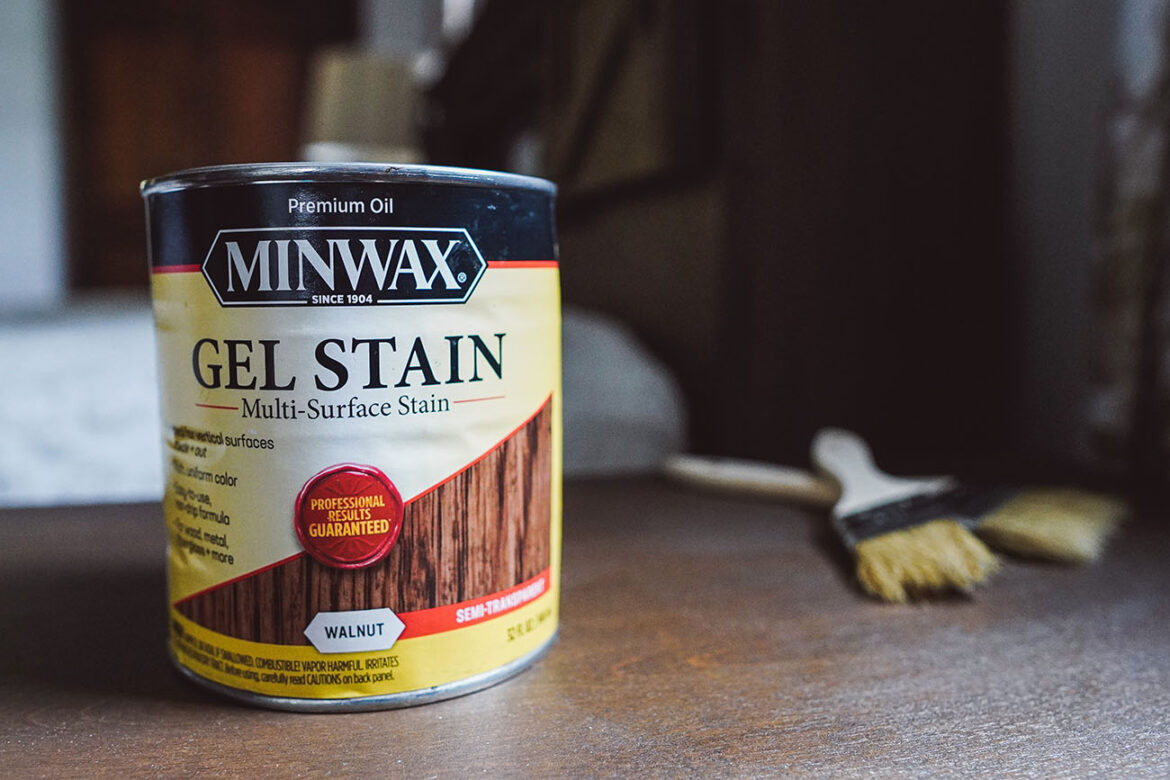
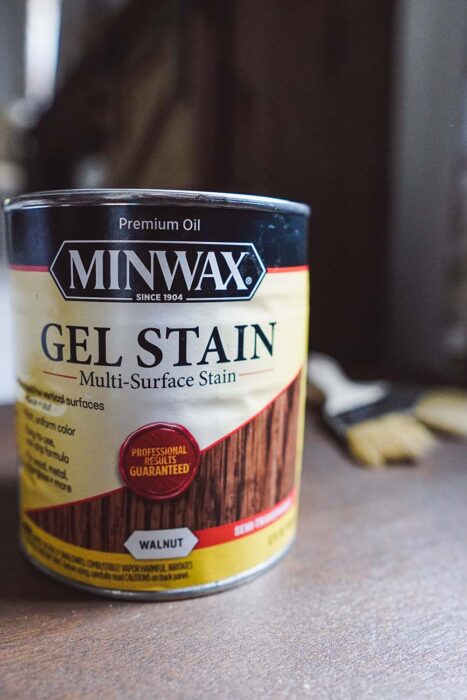
To achieve a stunning furniture transformation, you may want to try the incredible power of gel stain. But what exactly is gel stain, and how does it work? Well, let me tell you.
At its core, gel stain is a thick, pigmented solution specifically designed for nonporous surfaces to give a wood-like texture. Unlike traditional liquid stains, gel stain has a semi-solid consistency that sits on top of the surface rather than penetrating it deeply. This unique property makes gel stain an ideal choice for transforming furniture, as it can easily cover up imperfections and create a textured, professional finish.
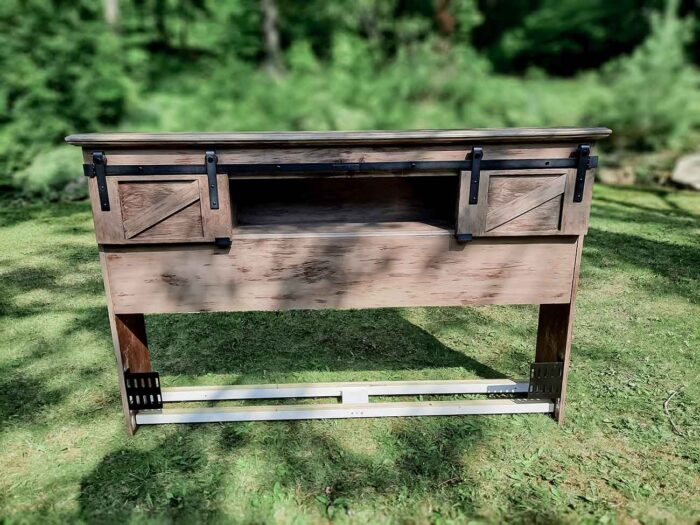
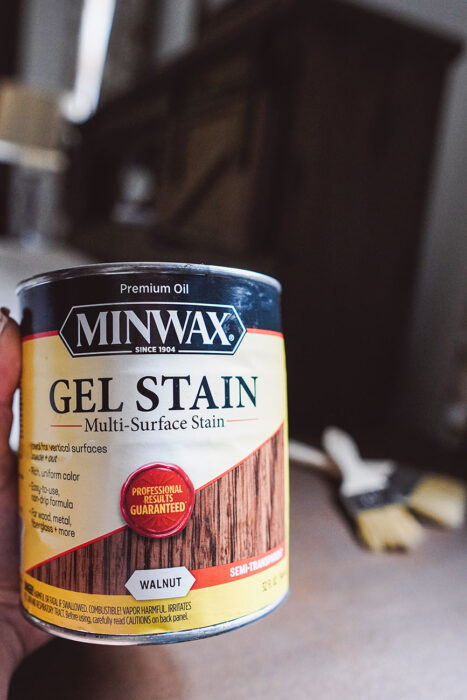
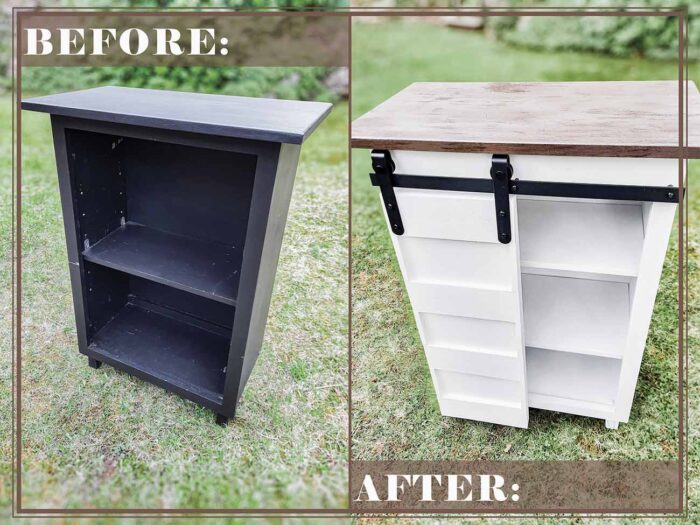
One of the major advantages of gel stain is its versatility. You can apply it on many surfaces, including painted wood, laminate, veneer, and primed metal. Whether you’re working on a solid wood bookshelf or revamping a worn-out headboard, gel stain can do wonders.
The image below is an example of the finished outcome of my DIY headboard project. I transformed the original laminate bookcase headboard into what it is today.
The application process of gel stain is also straightforward and beginner-friendly. Because it sits on the surface rather than soaking in, you don’t need to worry about applying it perfectly in one go. The forgiving nature of gel stain allows for greater control and flexibility, making it easy to achieve a consistent and flawless finish.
When applying gel stain, it’s important to use the right tools. A fine bristled brush is the way to go. And if you want to get creative, you can even use a cloth or a sponge to create unique textures and layering.
Another key feature of gel stain is its impressive drying time. Unlike traditional stains that require lengthy drying periods, gel stains dry relatively quickly, allowing for faster and more efficient projects. This is particularly beneficial if you’re working on multiple pieces or if you’re eager to see the final result sooner rather than later.
First and foremost, sanding is a critical step in preparing your furniture for typical staining. However, one of the benefits of gel stain is you don’t necessarily need to do this step. However, with that said, I still recommend doing at least a light sanding to smooth out rough surfaces.
After lightly sanding, it’s crucial to thoroughly clean your furniture to remove any dust, dirt, or debris. A clean surface will ensure proper adhesion of the gel stain and prevent any unwanted particles from marring the final finish.
Once your furniture is clean and dry, it’s time to assess and address any necessary repairs. Inspect the piece for cracks, dents, or other damages that may need fixing before applying the gel stain.
Use wood filler or putty to repair any imperfections, making sure to follow the manufacturer’s instructions for proper application and drying time. Sand the repaired areas lightly to blend them with the rest of the furniture surface. Taking the time to repair any damages will ensure that your finished piece looks professionally done.

Get all digital downloads for a fraction of the price with this bundle deal!
Next, you’re ready to transform furniture with gel stain. But, before you start there are a few things to note.
First, one of the benefits of gel stain is that it dries faster than traditional stain. This can also be a double-edged sword if you don’t move quickly during the staining process.
Think of it like nail polish. Imagine painting all of your nails and allowing them time to dry. You accidentally brush up against one of them and ruin the nail polish. Trying to fix it while it’s slightly dry is similar to the consistency you’ll face if you take too long to apply the gel stain. This is why working in small areas is the best approach.
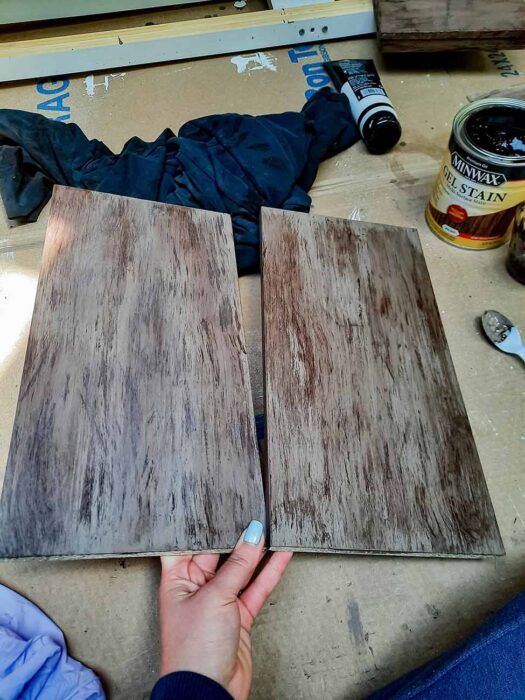
The base color and texture of the gel stain are also super important. I made this mistake the hard way on my DIY bookcase upgrade. The base color and texture were white and flat which did not allow the gel stain to have the impact I wanted it to.
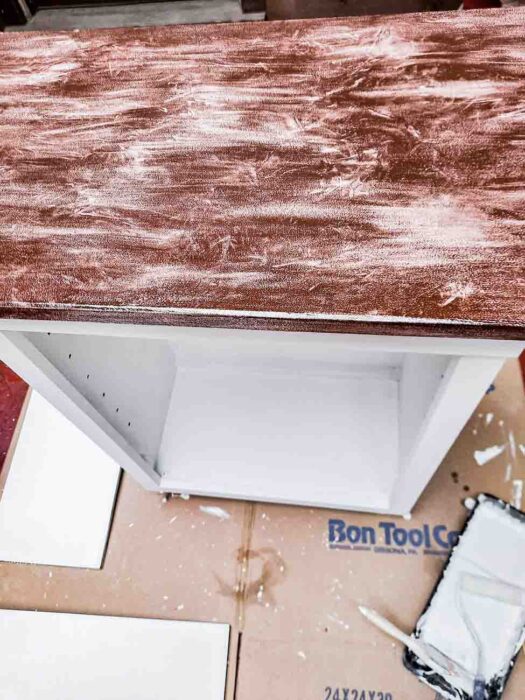
When I applied the gel stain directly to the white matte paint, I did not like the outcome for a few reasons. The first was the effect the layering had on the colors. I go into more detail about color theory here for my bookshelf DIY guide and how to avoid the unwanted undertones of the stain, but long story short, I was not a fan of the color effect that the gel stain had when put directly on the white.
The next issue was the texture. I see other sources recommending using a foam roller for the base coat, but I would not recommend this unless there is already a preexisting texture like in a fiberglass door. I say this because the whole point of gel stain is to get a wood-like texture, even if it’s not actual wood. By using a paint roller for a base coat on an already smooth surface, you’re taking away from the texture of the final product.
Now you are ready to transform furniture with gel stain! As mentioned before, start in a small area and work your way throughout the piece. Also, don’t be afraid to experiment a little.
In the example below, I used gel stain for the knots and grain of the wood. Because the consistency of the gel stain is thicker, it makes it easier to achieve this look in a believable sense. I go into more detail here on how I refurbished my headboard for those looking to implement a similar look.
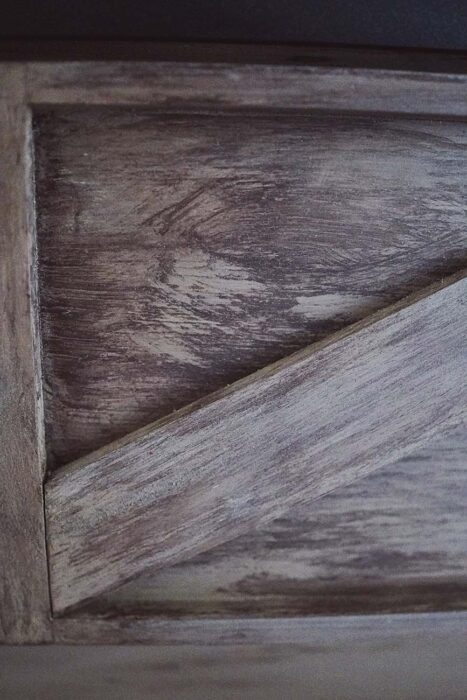
But, for a high-level overview of the steps to achieve this look, lightly dip the bristles in the gel stain (you don’t want too much on the bristles). Then slightly twist your wrist in the direction of the grain while lightly brushing the surface with the brush.
Also, take advantage of layering and going back over the section with a cloth to smudge the stain. Then, repeat the same process above to enhance the depth of color.
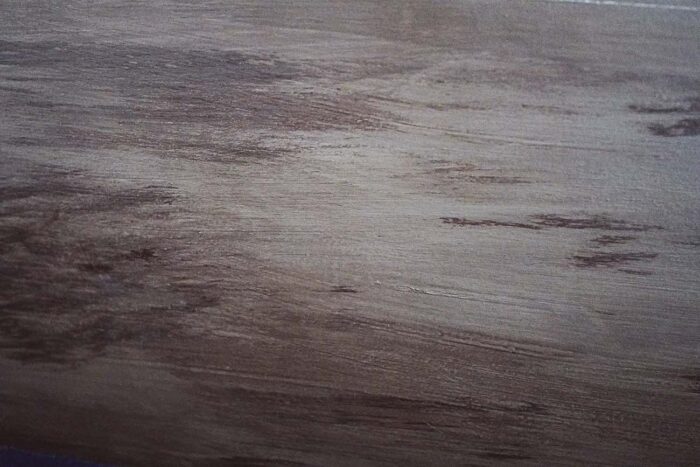
Another big takeaway to make the furniture look as realistic as possible is not to make the strokes too uniform. In general, I feel like I struggle with this one, so if you are too, don’t worry you’re not alone! But don’t be afraid to make the grain bigger in one section and smaller in the next. It’s all about creating balance with unequal brush strokes.
For a spin on how to transform furniture with gel stain, you can also mix gel stain with paint. This allows you to create a wide range of colors and effects, giving your furniture a unique and personalized look. Whether you want to add a subtle tint or create a bold statement piece, this technique opens up a new world of creative options.
To begin, select a paint color. In the example below, I decided to add yellow to the gel stain, and I explain the color theory behind that decision here.
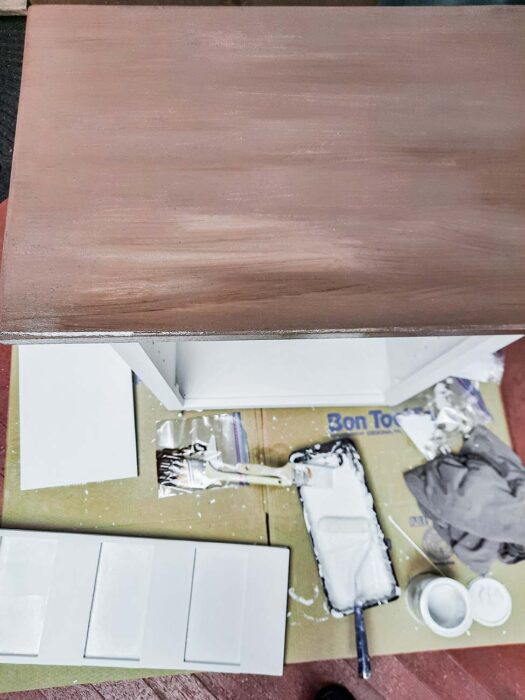
To choose a color, consider the overall look you want to achieve – do you prefer a monochromatic scheme or a contrasting color combination? Experimenting with different color combinations can yield surprising and beautiful results.
Start by mixing a small amount of paint with the gel stain. The ratio of gel stain to paint will depend on the desired intensity of the color and overall thickness. The more paint, the thinner the mixture gets.
Before applying the mixture to your furniture, test it on a small, inconspicuous area to ensure that you’re happy with the color and consistency.
Once you’re satisfied with the mixture, apply it to your furniture using a brush, following the techniques outlined earlier. Take your time and work in small, manageable sections, ensuring a smooth and even application.
Once you have achieved a professional finish with gel stain, you may find yourself wanting to take your furniture transformation to the next level. This is where adding additional finishes and techniques can truly enhance the look of your piece.
One popular technique is distressing, which gives furniture a worn and weathered appearance. You can create a charming vintage effect by strategically sanding or scraping away layers of paint or stain in areas that would naturally experience wear and tear over time. This technique works particularly well on pieces with ornate details or intricate carvings, as it can accentuate their beauty and bring out the depth of their design.
Another option for enhancing the look of your furniture is to experiment with different top coats. While gel stain alone provides a durable finish, applying a clear coat or wax can further protect the surface and add a subtle sheen.
A matte finish can give your piece a rustic and natural look, while a glossy finish can lend a more modern and sleek feel. Don’t be afraid to play around with different finishes to achieve the desired effect on your furniture.
If you’re feeling particularly adventurous, you can also consider incorporating decorative techniques such as stenciling or decoupage into your furniture transformation.
Stenciling allows you to add intricate patterns or designs to your piece, while decoupage involves adhering pieces of paper or fabric to the surface. These techniques can add an extra layer of visual interest and make your furniture stand out as a unique and personalized piece.
In conclusion, gel stain is the ultimate secret weapon for transforming tired furniture into stunning masterpieces. By understanding its properties and following the step-by-step instructions provided, you can achieve professional-looking finishes that will impress anyone! Don’t be afraid to mix gel stain with paint and experiment with additional finishes and techniques to unlock even more creative possibilities.
So there you have it, a guide on how to transform furniture with gel stain and the secret to achieving a professional finish! Don’t forget to sign up for the newsletter below!

Leave a Reply